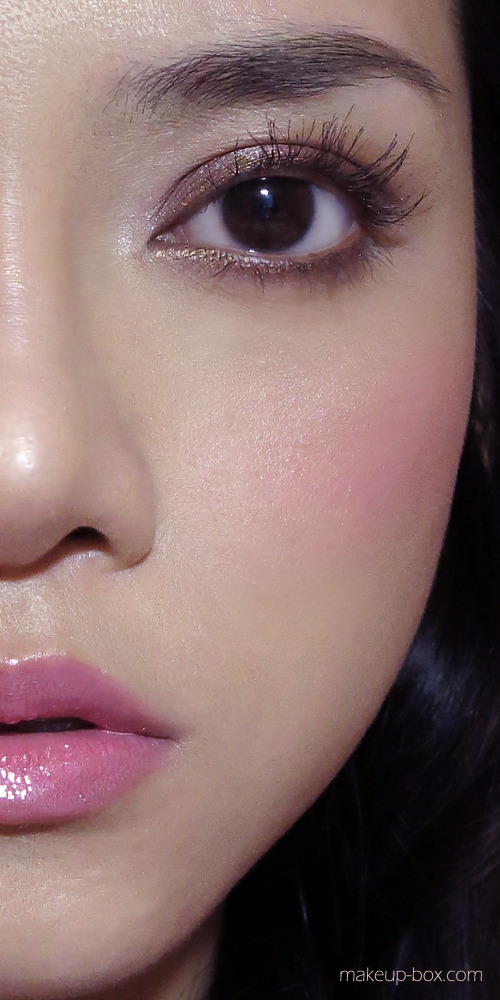
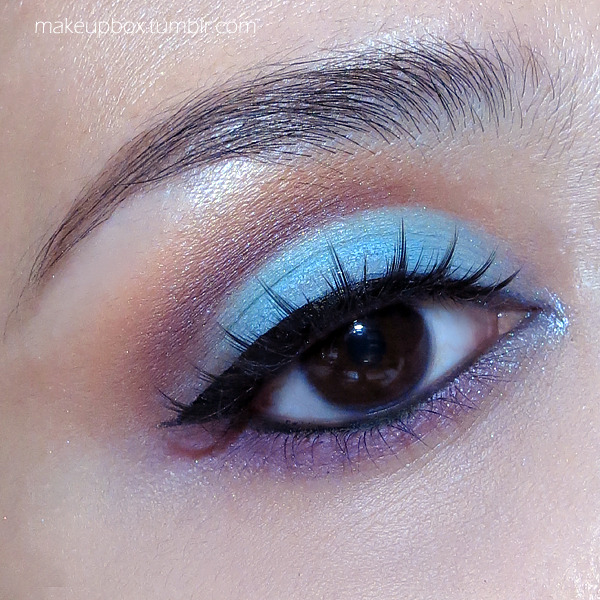
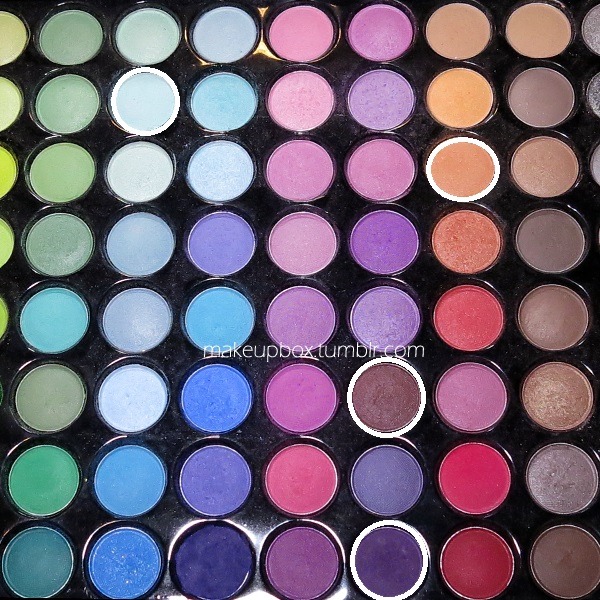
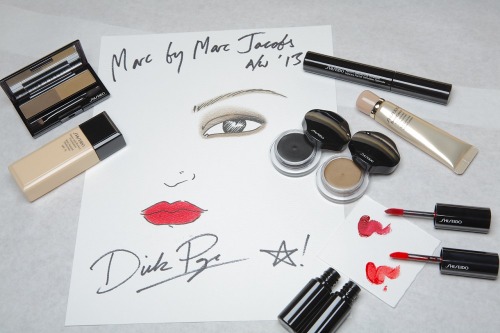
Most of the time, we try to avoid applying shimmer on every feature in order to avoid looking like a discoball, but if you pick the right highlighter and apply it in the right areas and pair it with matte textures, it can just look like radiant skin.
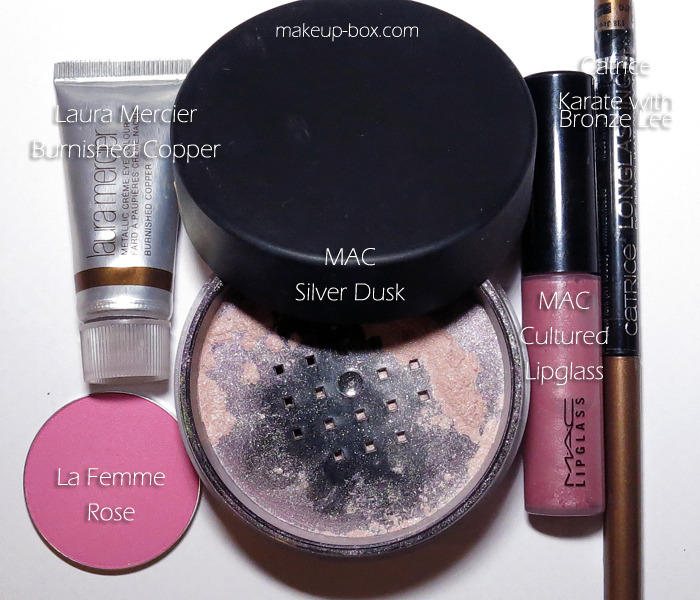 |
| Products used: Laura Mercier Burnished Copper, La Femme Rose blush, MAC Silver Dusk highlighter, MAC Cultured Lipglass, Catrice Karate with Bronze Lee pencil |
The Skin
I began by evening out the complexion and concealing flaws. (Below is a reference to where I usually apply a highlighting corrector.)
You do want to ensure an even base (below) before attempting to highlight specific areas. Otherwise, the highlighting can contrast with dark areas and blemishes and make them even more obvious.
IMPORTANT: If you are combination/oily, it's especially important to apply setting powder on your T-zone, inner cheeks, chin, and any other oily area. To prevent creasing and a "crepe-y" texture due to laugh lines and crow's feet, powder only under the inner corners of eyes, and at the outer corners.
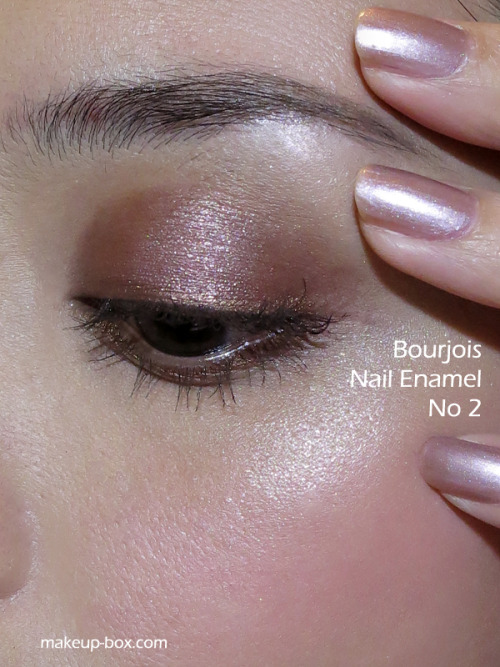
To mimic a glowing complexion, apply highlighter (I used MAC Silver Dusk) to the brow bone, and ABOVE the peak of the cheekbones, concentrating under the temples, and then fading inwards. Avoid shimmer too close to the inner cheeks or wherever pores are more obvious.
To choose a highlighter shade that is flattering on your skintone, you can check out some
suggestions here.
Tip: Using the same brush you used for foundation application will allow a less powdery application. The last bits of moisture and the flat surface of the brush helps the highlighter to meld with the skin and look more like natural sheen. (A dry, fluffy brush will dust sparkles all over the cheeks, which can emphasize pores on your lower cheeks.)
Apply a matte pink to the peaks of your cheekbones, overlapping some of the highlighter. This creates a nice transition from matte to shimmer, and mimics the glowy effect of a cream blush, without the greasiness.
The Eyes
