Is it worth the hype?
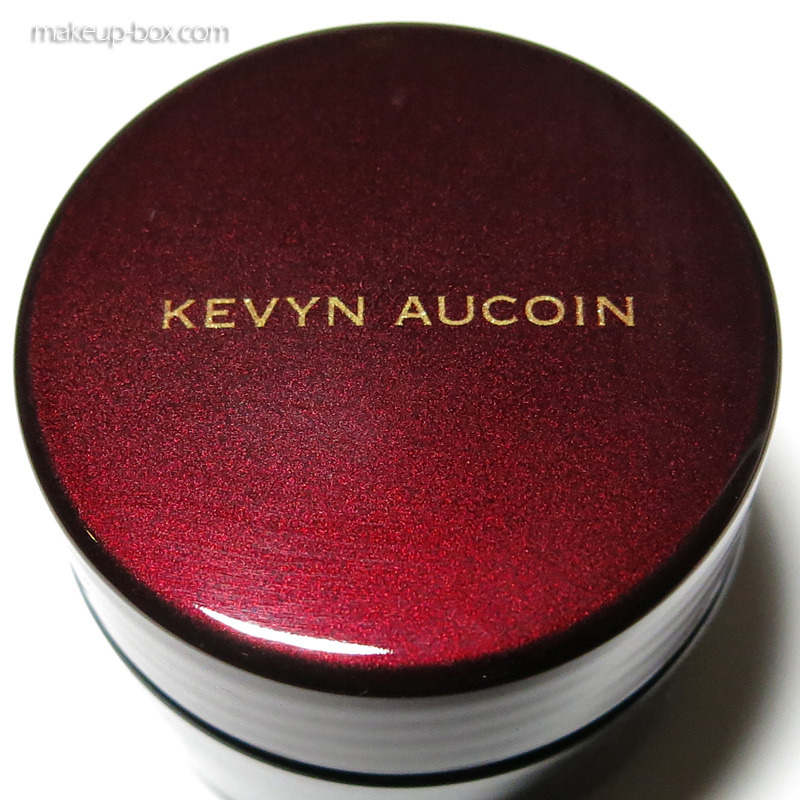 |
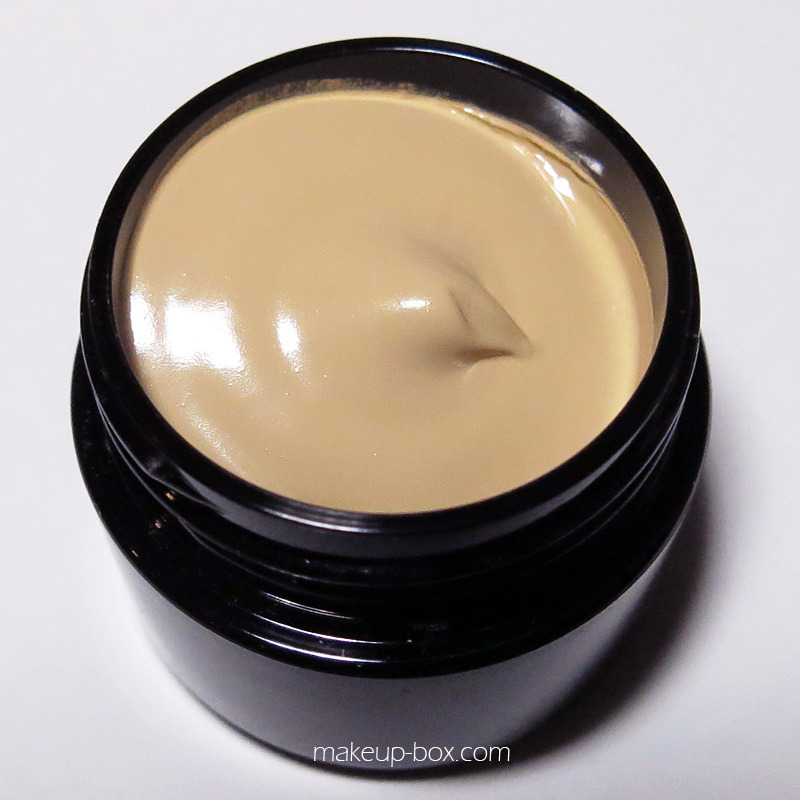
| Kevyn Aucoin Sensual Skin Enhancer, capped |
I hate to say this, but... yes.
And yes, I’m kinda late to the game. But Kevyn Aucoin is not available where I am, and I only just realized
FragranceX carried it.
So I did some swatch searches online and purchased a jar of this super-high coverage camouflage foundation for myself. It takes a little know-how to use if you’ve never tried something like this before, so if you’re wondering about investing in a jar of this wonderful product, then below are some tips and a demo.
The shade I use is SX 06 which is a fair yellow that’s probably closest to a MAC C25/NC25.
 |
| Kevyn Aucoin Sensual Skin Enhancer SX06 |
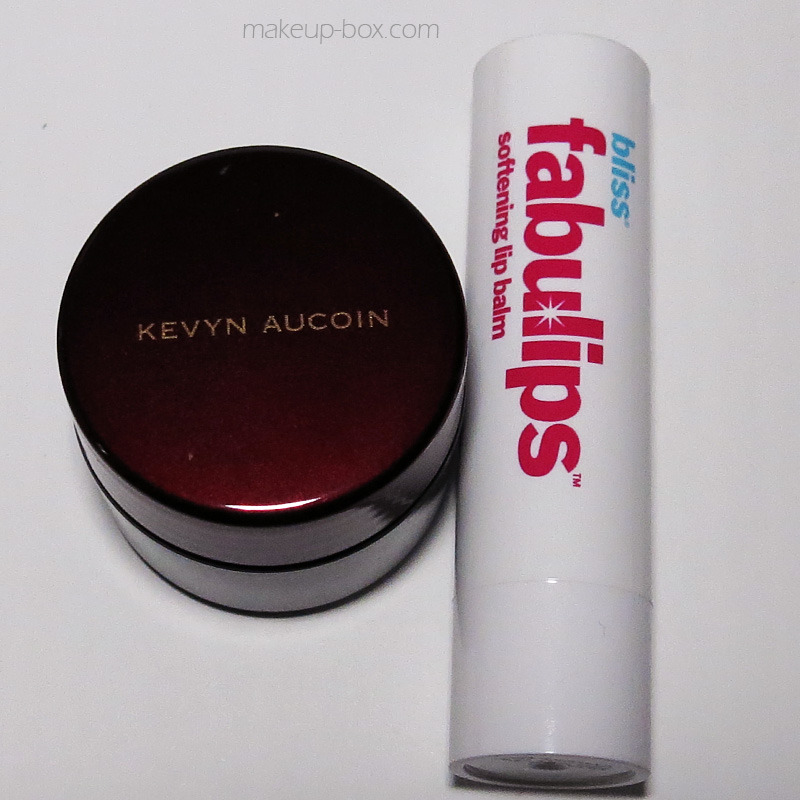 |
| Pictured with a tube of lip balm to show how small the jar is! |
- First thing you’ll notice is how tiny the jar is considering the US$50 retail price-tag. It’s literally the size of a jar of eye cream.
- But second thing you should know is: You need a lot less than you think, which explains the size. See that little dab on the spatula below? That’s usually more than enough for basic dark circle and blemish coverage over my entire face. That little jar will probably last you longer than most of your foundations.
- Most of these camouflage products are oil-based. This isn’t a bad thing because it keeps the product blendable and supple-looking even if you layer and layer it on to cover scars and tattoos. It also works fine on drier skin, including under the eyes. In Sensual Skin Enhancer’s case, it is mainly mineral oil (non-comedogenic, doesn’t go rancid), and jojoba oil (this is actually a natural skin-protecting wax, so it ALSO doesn’t clog pores or go rancid).
- Sensual Skin Enhancer comes in both yellow-based and pink-based shades so make sure you read the descriptions before you purchase, especially if you’re shopping online.
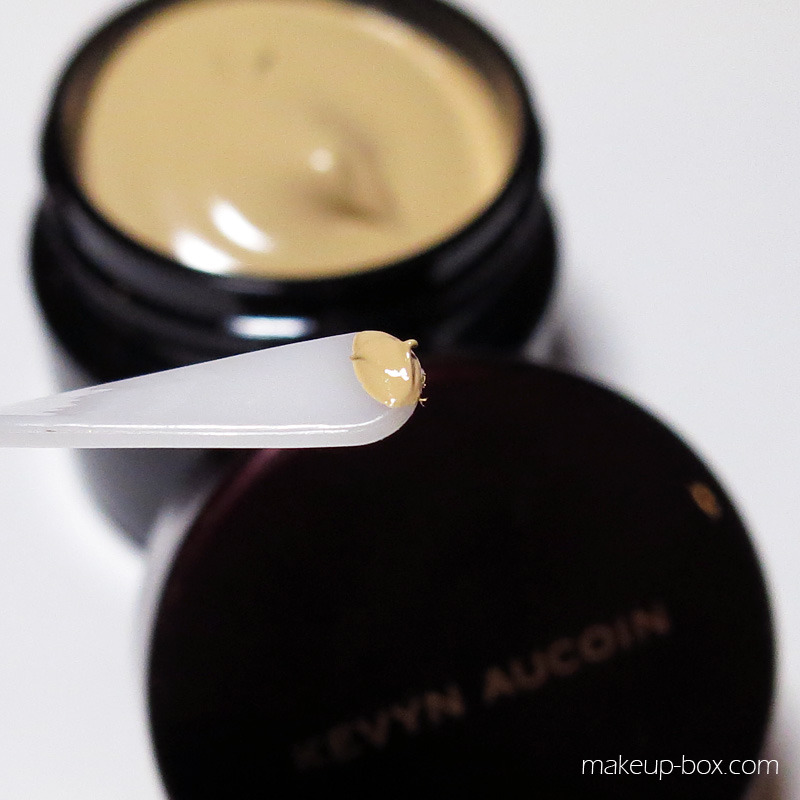 |
| A "dose" of Sensual Enhancer on a plastic spatula; this is all you need to cover dark circles and do a little concealing all over... |
Usage tip: To use it for everyday, don’t just try to apply it all over the face straight from the pot. You’ll end up with a cakey, heavy mess. You can take a tiny amount and mix it with about 5-6 parts lotion or more for a lightweight foundation or tinted moisturizer. I mix it with my SPF50 sun screen just so I can take care of sun protection and foundation at one shot.
If you want fuller coverage, mix it with 3-4 parts lotion. (Mix it with an oil-control lotion if you prefer a more matte finish.) I simply rub everything together on the back of my hand and then apply to the face with brush or fingers.
 |
| To see the application process, follow this link and scroll to the bottom of the post! |