Tuesday, November 24, 2015

Fun Little Xmas Gift Idea: Innisfree's 2015 Christmas Eco Nail Set


One cute little kit that I recommend to anyone looking for an affordable but great quality product as a gift this Xmas season is Innisfree's 2015 Christmas Eco Nail Set.

This little trio comes with a rich, festive metallic red as a main color, two different glitter polishes to transform the effect/look, and also 2 sheets of nail stickers for extra decoration.


I absolutely love that metallic red. It's opaque in one coat, and the brush shape is quite wide and rounded, so you can cover an average sized nail in 1-2 coats. This shade is glorious as well - absolutely gorgeous.

As for the glitter, they're both pretty good. If you shake them up before applying, you will get a good amount of glitter in one coat. I did not have to layer it when I applied it on my pointer. The two shades give you different effects. One is wintery and crystalline, and one is festive and more dramatic.

My personal favorite is the more glitzy golden-rose glitter mix. It's got little pink and gold stars if you look close, and I just love the look of gold against red.


The stickers are also different. One is a gold holographic theme and the other comes in Xmas themed shades of red, silver, green and black. The designs on the colorful sheet are a bit more "cute" with snowmen, gingerbread men, etc, while the gold holographic sheet is a bit more subdued, although still fun.

I love snowflake designs so those were the ones I picked out to accent a couple of nails.


I do have to say however, that the stickers aren't my fave for nail decoration. For one, the plastic is too thick, so not only can you see the edges surrounding the print design quite clearly, but the edges also sometimes curl up when you try to apply topcoat to seal them down. That's the deal-breaker for me really.

Then again, these are inexpensive and you can either just throw the stickers out or just apply them on top of topcoat and not care about having them lasting too long.

Some NARS x Steven Klein collection swatches and tutorial


For the holiday season, NARS has teamed up with photographer Steven Klein for a collection that celebrates individuality and power.

Despite the very avant garde campaign, the collection is actually extremely wearable, and great if you love bombshell slash femme-fatale makeup with strong lips and neutral eyes.

Case in point? The Dead of Summer Dual-Intensity palette.
The An Abnormal Female lip bullet set below is LITERALLY a giant bullet case which you can re-use (I can't imagine bringing it out, so it would really just be a display piece more than anything).
null

For review, I received some of the individual items, along with the NARS x Steven Klein Magnificent Obsession Lip Set, so these are what I'll swatch for you.


The lip set comes in a small glossy metal-lined cardboard case (top right above), and contains 3 lip products. Flamenco lipstick, Velvet Matte lip pencil in Mysterious Red, and Velvet Lip Liner in Misdemeanor.

The liner is a true red, whereas the other 2 have I feel a touch of neutral brown in them which makes these very flattering on a majority of skin tones. This is more apparent in Mysterious Red. In Flamenco, which is glossy and semi-sheer, it's more of a deep and subdued red tone, and not as bright as a true red.


I'm always up for a good red, but I was actually more wow-ed by the other lip products I swatched.
Lipstick in No Shame is a gorgeous deep berry which goes on so smooth and rich that it feels almost like butter. I'm totally in love with this shade right now.


The glosses Special Force and Provoke, are also pretty darned pigmented, and are that nice new non-sticky texture.


The single shadow I received, Mortal is a crystalline white. It's pretty, but I personally feel it's more of a shade which can easily be found from any other brand, including drugstore ones, so it wouldn't be where I would invest my money unless you absolutely love NARS and want a pearlescent white which layers well over other shades.


I received only one shadow, so I decided to work it into a look paired with another NARS duo, Habanera, which contains a soft aqua and a deep prune purple. Then I paired it with No Shame lipstick.


Eye Tutorial below!


I used Maybelline Color Tattoo Leather in 90 Vintage Plum
Tip: because this was a rather cool toned look, a warm matte transition shade helps make it less harsh, and adds contrast with the cool shades too.

I forgot to add that I also ran the color lightly along the outer 2/3s of the lower lash line!
Note: It's optional applying the white sparkly shade to the inner corners and below the bottom lash line. I just wanted a brighter look, but if you have pronounced eye bags or your upper lid fold covers the inner corners (many Asians), skip this step.


If you're curious about the lashes, I used Dolly Wink No 9 lashes, but just in case it's not available to you, just look for wispy natural lashes that are longer at the outer corners.


P.S. For the lips, I did use a little of MAC's Cyber World pencil (a very deep dark prune/plum) along the outer corners of my upper lip, and along the bottom to add a little 3D definition. You want to cover up most of the liner with the lipstick so there isn't a hard obvious deep purple line ringing your mouth. The effect should be subtle.


Sunday, November 1, 2015

Something A Little Different: Designer Bag Restoration at Dr. Bags!


I love bags. Nearly as much as makeup. 

Carrying the right bag is the equivalent of wearing the right lipstick. It can make a look.
Of course, it's always a much bigger investment when you're talking about a Chanel or Dior or Saint Laurent bag versus a Chanel, Dior, or YSL lipstick. And the more you use a bag, the quicker it gets stained, scuffed, and discolored. Often pretty quickly, if you spend on exotic leather, suede, calf skin or fragile lambskin.

I used to think this was part and parcel of owning a bag. Once it got damaged, it got damaged, and you just had to enjoy it while you could.

And then a few months back a friend told me about Dr. Bags


This place is like an aesthetics clinic for your designer bags.
  • Protect new bags - You can opt to apply an invisible waterproof silicone HP coating on new bags to prevent damage and stains from water and minor abrasions for up to 8 months. 
  • Maintain and Restore used bags - You can deep-clean and restore bags to remove minor stains and fill in minor scratches and scuff marks.
  • Overhaul and recolor older bags - If your bag is old and completely discolored, you can get them touched up so they look newer - or get them recolored to a completely different shade!


My Experience

I decided to try out the various Dr Bags services with 2 bags that were perfect "candidates".
  1. The first was a lambskin ChloƩ Bronte bag in a soft blush-taupe shade which was so delicate that I had 2 scuffs on it before I even carried it out for the first time. And it was not waterproof so any droplet of water would absorb into the leather and stain it.
  2. The second was old magenta Balenciaga Velo that was stained and discolored to the point where I would never carry it out in polite company. 
ChloƩ Bronte: HP Coating and Cleaning

If there is one thing I recommend you do for your designer bags, it would be HP coating. It is invisible but repels water and bacteria for months. Don't wait until your bag gets stained and damaged. (Just like skincare, prevention is better than cure.) Repeat wetting and drying and even humidity and rain can cause your leather to dry out and crack very quickly.

I actually splashed water on my Bronte bag to see if it was really waterproof. (I won't lie - my heart almost stopped when I did that because previously, the leather would absorb the water and I had to wait hours for the water stain to fade, and not cause any permanent damage by touching or rubbing it while wet.)

But I waited - and waited. 

And the water didn't go in. Amazed. Now I can bring it out without worrying about rain and moisture. HP coating also prevents colored liquids from staining your bag. You can easily wipe off accidental spills and splashes (coffee, sauces, makeup) easily when you have your HP coating on. Just make sure to refresh your coating every 6-8 months if it's a bag you carry very often.
 

There was also a dark scuff mark from when I'd put the bag down on something, and I'd never been able to remove that mark.


After the cleaning and restoration treatment, it looks pristine.


Basic coatings cost around $150 per bag and can take maybe around a week.

You can also bring in your precious Louboutins and Jimmy Choos (all shoes, boots, and other leather goods) for HP coating so they stay pristine much longer.

Balenciaga Velo: ColourPro Colouring

For my poor beat-up Balenciaga which was stained and discolored from a bright magenta to a grey-prune tone, I decided to try out the ColourPro coloring treatment. This is perfect if you have a bag that's so old that it's no longer the color it used to be, or a stain that can't be removed completely with regular cleaning or restoration.


Dr. Bags offers a huge variety of colors, although the general advice for best results is that you can only go deeper, not lighter. That said, I've seen many people do a complete "white-out" and recolor their bags from another color, so discuss it with the team and see what the recommendations are.

Friday, October 30, 2015

MAC Magic Of The Night Collection Swatches and First Impressions


MAC's Magic Of The Night Collection is a true party collection. There is nothing here that is soft and subtle or especially day-appropriate, aside from maybe Please Me lipstick.


If you like smoky sultry colors shot through with beautiful sparkles and shimmer, high-sheen skin, or intense lip shades, this would be a good release to check out.

Must Try:
My favorites in the range are the 4 lipsticks. Really, I like all the shades. They’re all fab. Especially All Fired Up, an intense fuchsia red. It looks a little more pink/cool-toned in press visuals but the actual shade is slightly warmer/redder. 
Evening Rendezvous is a daring plummy-violet, and Dark Side is just a great Fall/Winter noir lip in a creamier texture. Please Me is beautiful but a re-release (or permanent in some markets), and I do recommend the shade for girls who like softer lips.

Also Cool:
The 5 Colourdrenched Pigments are pretty interesting. I thought they would be like Luster shadows; crumbly and un-pigmented. But they’re dense, slightly creamy-feeling sparkle shadows suspended in matte bases. The only thing is you can't be color-shy. They are extremely bling.
My tip for using these is to pack on a layer with your finger for maximum intensity first, and then using a soft brush to blend out the edges. These don’t get ruined when touched with fingers, the way some of the other regular shadows do. But if you want to use a brush, use a flatter, slightly firmer brush rather than a soft fluffy one so it grabs more pigment. 
All the eye looks I have here were done without any base or wetting the shadows. Night Thrill, the soft blonde gold, is slightly crumbly swatched on the hand, but packed on lightly in a small area like the inner corners, or down the center of the lids, it goes on beautifully.


I decided to do additional eye swatches because this is a pretty new formula that most people aren't familiar with, and I know some of you are afraid to buy shadows based on wrist swatches since the payoff can be different from when applied to the lid with brushes.

I would say only Ascent of Glamour (violet) came off a little softer on the lids, but that was also because I didn't spend much time building it up. And again, I think you get the best effect applying this formula with a finger first.


Optional:
There are 4 pencils with this collection. 2 Lip Pencils, and 2 Eye Pencils. I think the 2 sparkly eye pencils are beautiful. Very smooth and buttery, and the sparkle in them is gorgeous. But I find the shadows compete with them, so you might not need both, or at least you don’t need to wear them together in the same look.


Monday, October 26, 2015

Fall Makeup Tips and FOTD featuring MAC Viva Glam III and Moonshot Jelly Pot in P08 Cafe Con Leche


Tempted by all the dark, lush Fall tones of rich brown, rust, and brick red, but worried that they're too dramatic?

Here's my favorite way to channel the Fall mood and pair all these rich, warm brown-laced colors together without everything becoming too vampy or over the top for the day.

1. Sheer out a dark lip shade

Often in Fall, brands start releasing beautiful rich, deep lip colors. Nothing says Fall more than a beautiful brown-red, berry or plum colored lip. It's posh and chic and dressy, but not as loud as red or as vampy as a full-on noir shade.
One trick is not to go TOO brown as it can make your entire face look quite drab and washed out when paired with brown-toned eyes and dark Fall clothes. Dab a little of the color on the back of your hand with your finger and see if it sheers out to a reddish or plummy tone. If all is you see brown, it's TOO brown.


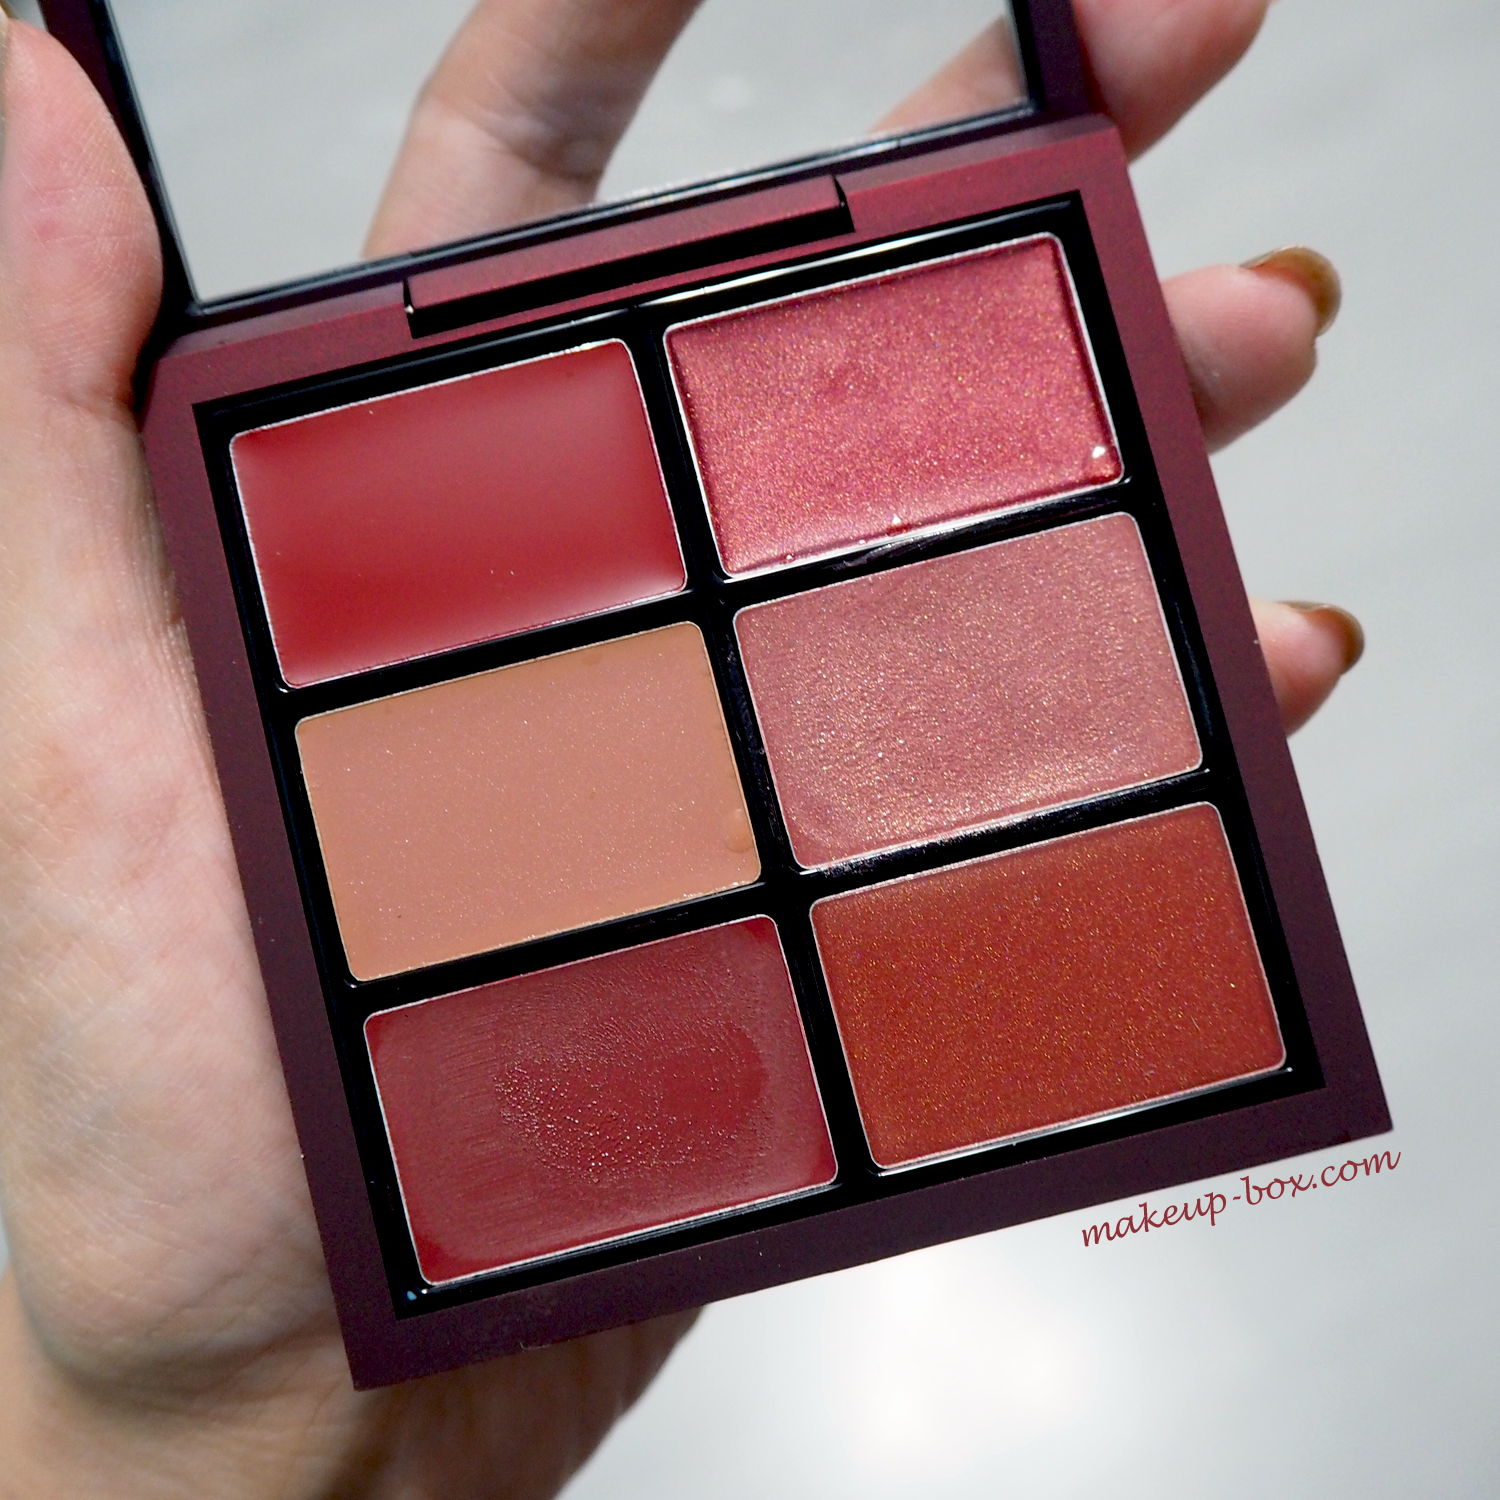
I used MAC's classic Viva Glam III (the darkest shade on the bottom left) for the look above. It has the potential to look very vampy, but sheered out, it is just a lovely raisiny red-brown that looks pretty, not severe.

Simply dab on the color with a finger and then apply clear lip balm over your lips to add a little sheen and to even out the color.

2. Go for a smoky eye in a softer, metallic shade of brown

Black liner and mascara is the easy way to do your eyes for dark lips. But it can often look very severe, especially for girls who like to draw very thick liner.

A smoky hazy eye look in a soft brown is much more romantic and dreamy. Instead of going for a typical dark smoky eye color, pick colors that are 1-2 tones lighter, like Moonshot's Jelly Pot in P08 Cafe Con Leche below. Medium-toned metallics are dimensional enough that you only need one shade to look like you applied 2-3 colors. Great for a low-maintenance eye that you can throw on quickly.
  • Make sure you blend out the edges and there aren't any hard lines.
  • If your eyes do not tilt downward too much at the outer corners, you can run a tiny bit along the outer half of your lower lashes to create that smoky dreamy effect.
  • If you need definition and want to wear liner, use pencil and try to smudge it out lightly with a ring finger so it is not one hard black line.


3. Don't use brown-toned or very shimmery blush

It might seem to make sense to match your blush to your lip and eye colors, but not everyone suits that severe monochrome look with brown eyes, brown lips, brown cheeks.

Skip the brown-toned blushes unless you have caramel to dark skin. Often it's more flattering to inject a tiny bit of soft color to your face with a neutral peachy-pink blush when you are wearing brown tones on lips and eyes.

Just don't pick a shade that's so bright - or apply so much - that it is obviously clashing against the rest of your makeup. The blush is there so you don't look too corpse-like. Not to make a statement in itself. 

This is also the one time I would not go with a very metallic or shimmery blush. A satin or matte shade would look much better. Otherwise it just detracts from the overall look and you will have too much going on on your face.


Sunday, October 25, 2015

A Look At: Dior's State of Gold Holiday 2015 Makeup Collection


Dior's known for bringing out luxurious "gilded" makeup collections every holiday season, filled with golds, reds, and plush velvety colors. This year is no different.

Named "State of Gold", the 2015 Holiday Collection features rich late-Fall colors like burgundy, red, squash orange, and all manner of nuanced gold tones. Every product is a gift worth giving if there's someone special in your life you want to pamper.

There are the requisite gold compact Illuminating Pressed Powders; 001 (a light champagne gold) and 002 a rose gold. I love both but only picked up 002 as 001 has not reached stores yet. 


Someone mentioned on Instagram that these are like collectibles to treasure and keep. I agree but I would also recommend using them cos they are gorgeous on the skin; more pearlescent than last year's and shot through with flattering gold rather than silver sparkles.

There are 2 cream shadows and 2 lip glosses which I won't speak of because they're not the standouts to me. There are also 2 pressed powder blushes which are shot through with lots of gold sparks. I'm not the biggest fan as there is so much gold sparkle in the formula that it would look quite dramatic on the cheeks. Both of the burnished orange-tones also look like they would work better on medium to tan skins and might be too orange on pale girls.

What I do highly recommend are:
  • the two 5-Couleur palettes
  • two of the 5 nail polishes
  • both illuminating compact powders
  • any of the 6 shades of Diorific Mat lipsticks


The 2 palettes come in variations of Fall tones. One accented with a beautiful sage green, the other a rusty brick red.

 576 Eternal Gold is a slightly more neutral grouping of shades, and my pick between the two, although 886 Blazing Gold is gorgeous as well, especially if you have blue/grey eyes or prefer warmer tones in general.


I like all the lipsticks. Fall and Winter are the best times for seasonal lip colors because instead of the more watery and translucent colors from Dior Addicts and Rouge Diors which are common in Spring and Summer, the brand tends to bring out rich satins and mattes in the Diorific range (which is my fave formula from Dior).

Plus - the ribbed gold cases are so vintage looking.


All 6 shades are gorgeous but the 4 I personally love are:
Fantastique - rich fuchsia
Fascinante - rich warm brown-rose
Fabuleuse - rich deep crimson
Troublante - dark burgundy red

As for the nail polishes, it really depends on your preference. But the two that I find a bit more special and worth picking up this season are 
  • 227 Gris Or - a dimensional oyster-gold that shifts slightly grey and rose depending on the light
  • 001 State of Gold - a gold glitter topcoat; sounds bring but this deposits SO much glitter in one coat that I instantly fell for it. Use it as an accent on one nail or partially over another color. (If you paint over the whole nail, you will blot out most of the color beneath.)