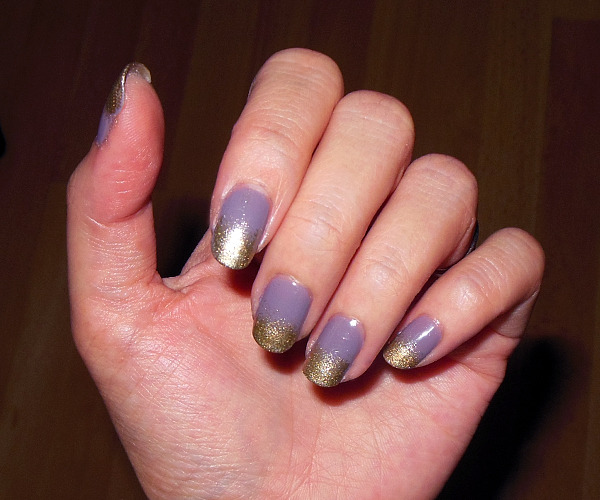
For some of you nail experts, this won't be anything new, but for those of us who are kinda just starting out with it, this is the simple method for getting nice ombre nails in the convenience of your own home!
This works with all types of polish although I don't think it's necessary if you're using glitter polish (you just add layers straight from the bottle). With a regular polish, it's not that simple because there's no way to get an ombre effect with your brush.
You'll need:
- 2 nail polish shades (best if the layer that goes on top is opaque)
- a piece of cosmetic sponge
- base and top coat
I used Sally Hansen Complete Manicure in 404 Greige Gardens and Revlon Nail Enamel in 925 Gold Coin (fine golden flecks in a metallic gold base).

Step 1: First apply 2 layers of your base color after priming/prepping with base coat.

Step 2: Preparing the sponging. You need a piece of regular cosmetic sponge. You will need to switch sides/surfaces after a few uses once drying polish spoils the porous texture of the sponge.
Just apply a thick swatch of polish to the tip. You won't need too much.

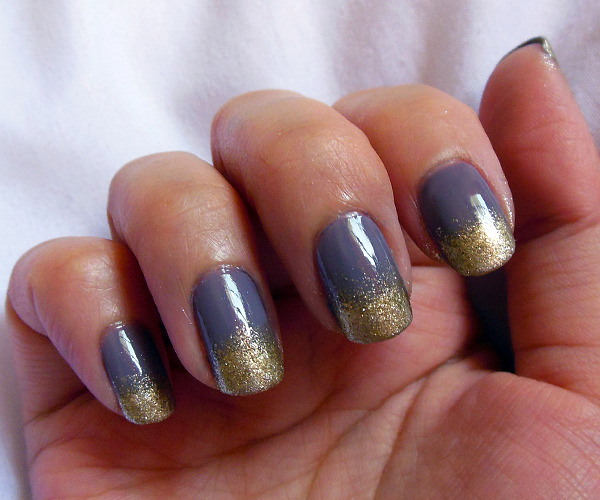
Step 3: Apply the sponge to the tip of the nail first and stipple, stipple, stipple. This ensures you apply the most color to the tips. Work in a zig-zag motion inwards towards the center of the nail.

Step 4: If you need, add a little more polish to the sponge and apply more on just the tips of the nails to intensify the color there. Then let it set for a few minutes before applying clear top coat to finish.
Never thought of trying something like this, thanks for posting! It's a great idea. :)
ReplyDeleteMaking nail art is a great technique. I’m very interested to learn this art very much.
ReplyDelete