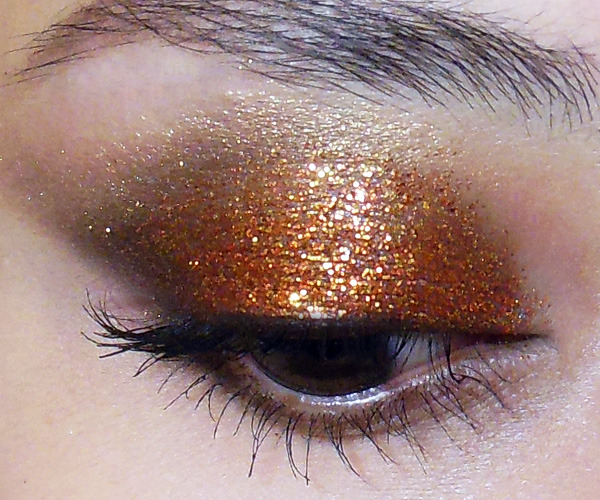
One of the highest-impact ways to wear glitter is as a strip of glitter liner along the lids. It's also relatively simple to do, but can get extremely messy if you're not careful. Here are a few tips to make it a little less painful.
You will need:
- Glitter glue, or clear mascara
- A small gel liner brush
- Q-tips and makeup remover
- Black liner and mascara
1. Some people like to mix the glitter glue with the glitter before applying. I find that wastes a lot of product because some of it will always dry before you can apply it. I like to use the small brush to apply the glitter glue or clear mascara directly onto the skin area, in a strip like you would apply black liner. (Thin at the inner corners, thick at the outer. Don't worry about being too neat at this point.)
Step 2: Then with the same brush, dip into the glitter of your choice (I'm using a bronze-gold called
Leo) and dab and coat gently along the glue you applied earlier. You should go over it with two coats of glitter to make sure there are no gaps or patches of skin showing between the flecks.
Step 3: Glitters, like pale shadows, can obscure your lash line and sometimes fall further than you intend. You want to gently pinch away anything that's on your lash line with your finger tips, and then run a black pencil along the inner rim of your lash line to darken it and add some definition back.
Then check if the glitter has dried, and if it has, you can go ahead and curl your lashes and apply mascara. (You can apply false lashes, but do note that if you apply too much glitter the lash strip could come undone in the middle of the day, as it's sticking to the glitter instead of the skin. I prefer mascara for these looks since big lashes can obscure the shine and sparkle anyway.)
Step 4: Now it's almost GUARANTEED that you'd have a mess in the general eye area, with flecks of glitter everywhere. That's fine if you're going for a glitter-dusted look, but a glitter liner always looks more dramatic and beautiful if the skin around it is quite clean.
Here's where you use a Q-tip dipped in a little non-oily makeup remover (or just plain water) and clean up. This is especially useful if your liner shape is far from neat, because all you need to do is wipe firmly to carve out the shape you want, and then reapply concealer just around the edges to get a super-clean line.
A note on the cleansing:
Glitter can be extremely tricky to get off, especially if it's been coated on so thickly right at the lash line. You're almost always going to get some in your eye, which is why you should be careful to use cosmetic grade glitters.
- Soak a cotton pad in makeup remover and press it down onto your lids. Hold for about 10 seconds before wiping firmly up and out. (Pulling downwards gets glitter into your eye.)
- After you remove as much as you can, use foaming wash and running water to get the rest off. Water is the best way to remove most of it.
Glitter used:
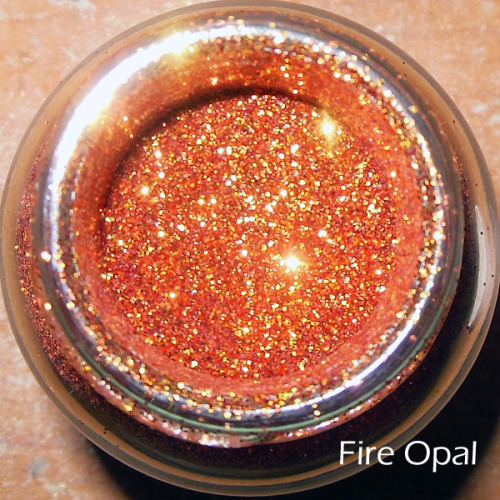
Leo is the more sparkly and dramatic glitter, which I used for the demo, but if it's a little beyond your budget or you need to buy glitter in bulk, I suggest Coastalscents.com's
Gold Medallion. (The shade I used was Sahara Sand, purchased a couple of years ago, and it seems the company has replaced or renamed it.)
The color is identical to Leo, though the particle sizes are different.
The one from Coastal Scents is a micro-glitter, which you can use in lotions as well, because it's extremely fine-grained; almost like fairy-dust.
Leo is better for more dramatic statements and nail art, when you want obvious glitter.