 |
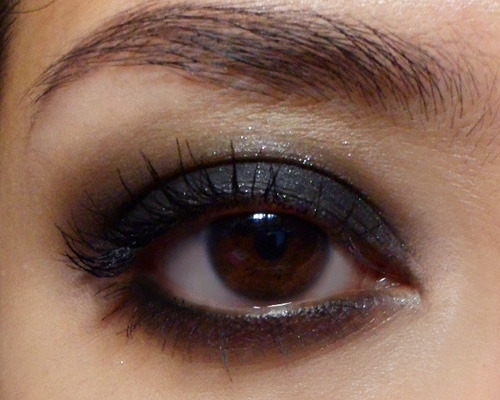
| Black smoky eyes with just one single shade in the Wet n Wild Coloricon Greed Palette |
Anonymous:
How do apply black eye shadow? I know this sounds stupid but everytime i apply it, it either creases within 5 min, or applying it gets super messy, and it gets all over my cheeks. any tips? Mabe i'm using the wrong brand?
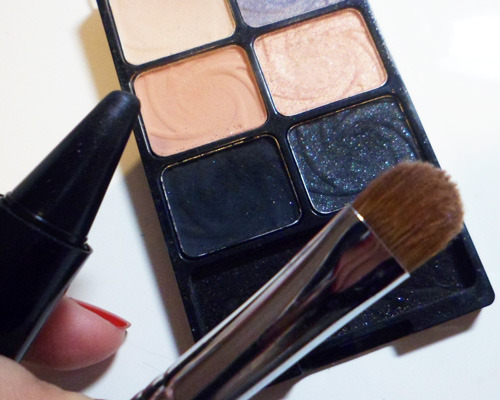 |
| Essential tools for applying black shadow |
It helps to use a good eye shadow brand, but even high end shadows from Urban Decay and MAC would crease and give you a lot of fall-out if you do it wrong. The thing to remember about black shadows is that they are primarily made up of matte pigments. Even the ones with sparkly bits are actually matte shadows with sparkly bits thrown in, and the texture is still that of a matte shadow.
Matte shadows tend to be chalkier, more powdery, and go on less evenly than shimmery/pearlescent shadows, which means they have poorer adherance ("stickiness") to your skin and brush, and you get more fallout and creasing in general.
Always use:
1. A shadow primer to grab and hold on to your black shadow -

- If your eye shadow is very pigmented, you can use a skin colored primer like Urban Decay Shadow Insurance (the matte one) or Lime Crime's Eyeshadow Helper.
- If your shadow is chalkier and less intense, then make sure you use a black base. If your lids are oily, use a silicone based cream/gel shadow like MAC Blackground Paint Pot. If your lids are normal or dry, use a black pencil and smudge it out to a thin smoky layer with your finger. (Kajals and kohls are better because they are softer and easier to blend.)
- If you are applying shadow to your lower lash line, make sure you apply base or pencil there as well.
2. Flat brush to pack on the color with minimal fallout -

- Pat on in sections. Don't drag, buff, or sweep back and forth. This is because you are pressing the shadow pigments down into your base so that they stick and don't come off easily. If you use a soft, fluffy brush, you will not get intense color because the powder pigments will be dusting off all over your face (which you don't want).
3. As a last step, go in with a soft fluffy brush to blend the edges of your shadow so you don't have any messy, hard lines. Then you can finish with more liner and mascara.


