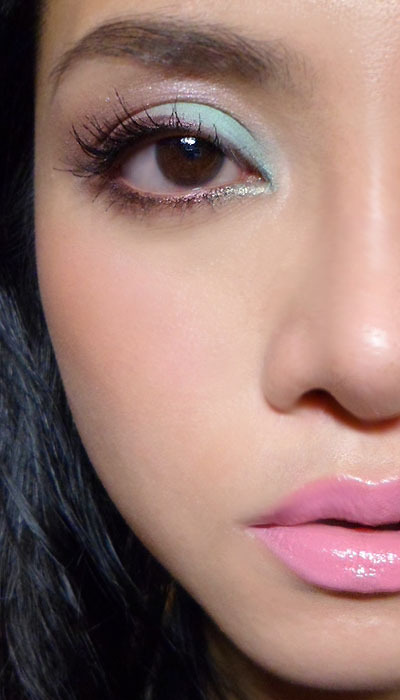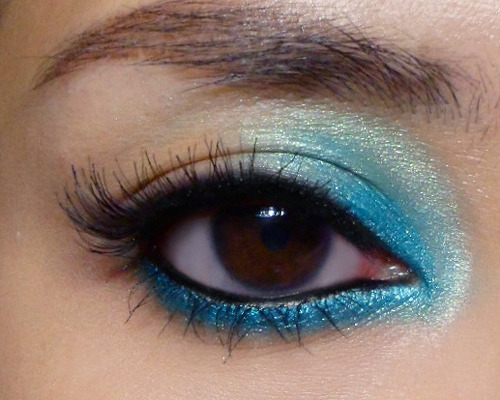
I was inspired by the recent Top Shop campaign visuals, where this girl was wearing BRIGHT aqua shadow all around the inner corners of her eyes, but since a big sphere of turquoise around your eyes doesn't really work in most real life scenarios, I toned it down a notch, stacked 2 liners along the lower lash line, and added a sultry cat eye flick into the look.
You'll need:
- Black liner (any black kajal or pencil)
- Aqua liner (I used Milani Liquif'Eye in Aqua but most brands have a bright turquoise)
- A bright aqua shadow (I used Coastal Scents Hot Pot in Fantasy Isle; MAC Aquadisiac might work if you are extremely pale)
- False lashes (or black mascara)
- Black liquid liner (optional)

Step 1: First line your entire lower lid with the aqua pencil. You don't need to go all over the waterline. Just run it right below your lash line and then up to your upper lid, where you fill in just the inner corners.
Smoke out upper lid a little, so the blue fades into your skin.

Step 2: Use a fine brush to pack the aqua shadow over the lower lash line. This not only sets the blue, but also brightens it and intensifies the color.

Step 3: Switch to a softer blending brush for the upper lid and coat the inner 1/3 of your lids with the aqua shadow. Unlike the lower lash line, you are going to blend the shadow upwards, past the socket line and almost to the brow.
Make sure there are no harsh edges. The aqua should fade into the rest of your lid.

Step 4: Use kajal or black pencil to line the inner rims of your eyes, inside the base of the lashes.
Then run it above the upper lash line as well.

Step 5: Flick time! Run a Q-tip gently along the pencil above your upper lashes, and at the end, pull it up gently into a slight flick. If you smudged too much off, you can always go back and apply a little more black pencil JUST at the base of your lashes.
--

Step 6: Apply your mascara or false lashes. I used Ardell 120 Demis here for a wispy, longer-at-the-outer-corners cat-eye look.

Step 7: (Optional) The shadow that we applied along the lower lash line earlier would have coated your lower lashes and made them blue and powdery. To get them inky and more visible, you can use mascara, but I find that tends to be clumpy, and if you're not careful, you can deposit globs of black all along your lower lash line from the brush.
I like using a liquid liner, holding it sideways like a mascara brush, and then lightly stroking it downwards to coat my lashes with inky black. Do it just like you apply mascara, moving from top to bottom, and be VERY careful not to touch your skin with the brush or felt tip.
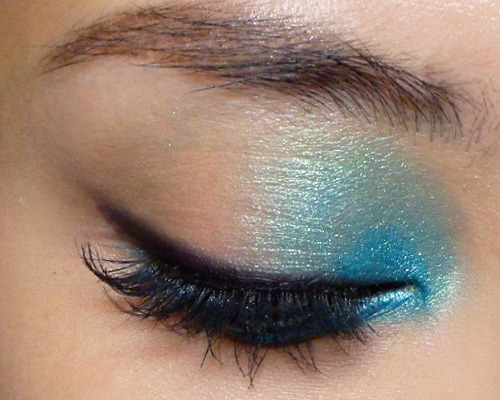
And that's it!