Showing posts with label cat eye liner. Show all posts

Sunday, December 9, 2012

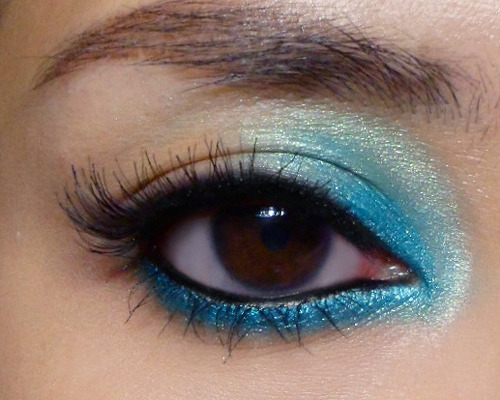
Fantasy Isle: Cat Eye with a Splash of Aqua


I was inspired by the recent Top Shop campaign visuals, where this girl was wearing BRIGHT aqua shadow all around the inner corners of her eyes, but since a big sphere of turquoise around your eyes doesn't really work in most real life scenarios, I toned it down a notch, stacked 2 liners along the lower lash line, and added a sultry cat eye flick into the look.
You'll need:
  • Black liner (any black kajal or pencil)
  • Aqua liner (I used Milani Liquif'Eye in Aqua but most brands have a bright turquoise)
  • A bright aqua shadow (I used Coastal Scents Hot Pot in Fantasy Isle; MAC Aquadisiac might work if you are extremely pale)
  • False lashes (or black mascara)
  • Black liquid liner (optional)

image
Step 1: First line your entire lower lid with the aqua pencil. You don't need to go all over the waterline. Just run it right below your lash line and then up to your upper lid, where you fill in just the inner corners.
Smoke out upper lid a little, so the blue fades into your skin.


image
Step 2: Use a fine brush to pack the aqua shadow over the lower lash line. This not only sets the blue, but also brightens it and intensifies the color.


image
Step 3: Switch to a softer blending brush for the upper lid and coat the inner 1/3 of your lids with the aqua shadow. Unlike the lower lash line, you are going to blend the shadow upwards, past the socket line and almost to the brow. 
Make sure there are no harsh edges. The aqua should fade into the rest of your lid.


image
Step 4: Use kajal or black pencil to line the inner rims of your eyes, inside the base of the lashes. 
Then run it above the upper lash line as well.


image
Step 5: Flick time! Run a Q-tip gently along the pencil above your upper lashes, and at the end, pull it up gently into a slight flick. If you smudged too much off, you can always go back and apply a little more black pencil JUST at the base of your lashes.
--
image
Step 6: Apply your mascara or false lashes. I used  Ardell 120 Demis here for a wispy, longer-at-the-outer-corners cat-eye look.


image
Step 7: (Optional) The shadow that we applied along the lower lash line earlier would have coated your lower lashes and made them blue and powdery. To get them inky and more visible, you can use mascara, but I find that tends to be clumpy, and if you're not careful, you can deposit globs of black all along your lower lash line from the brush.
I like using a liquid liner, holding it sideways like a mascara brush, and then lightly stroking it downwards to coat my lashes with inky black. Do it just like you apply mascara, moving from top to bottom, and be VERY careful not to touch your skin with the brush or felt tip.
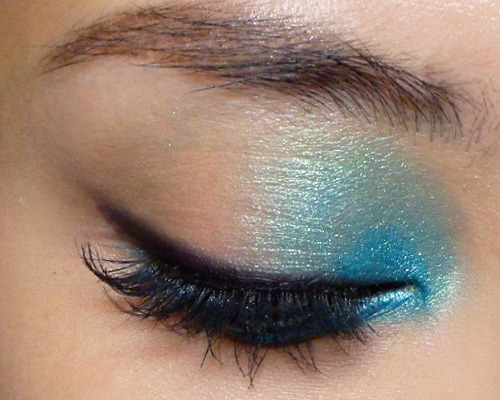
 
And that's it!


Tuesday, September 4, 2012

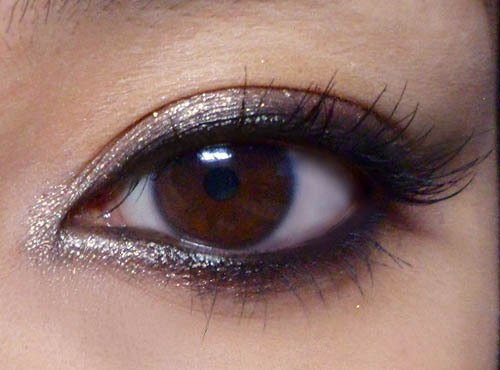
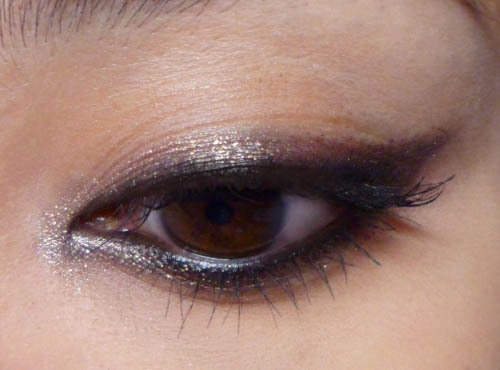
How To: Cat Eye Liner


This is my mini-tribute to my cat; a 101 on how to easily create a cat-eye look. 
(Do note this look works better if you don't have hooded lids, but I'll add a tip later on how to make it work a little better.)
A retro kitten flick focuses only on the upper lash line. A cat eye is a more dramatic and sultry version of that look, because the liner goes around the entire eye and the eye shape is more exaggerated.

Step 1: First apply the black liner or kohl along the upper and lower lash line. For the lower lash line, the shape is more intense and sultry if you cover the waterline, but that is optional. For the upper lash line, make the line quite thick at the outer corners and thin only at the inner corners.


Step 2: To exaggerate and create the "cat shape", use a small brush or Q-tip to lightly smudge the black liner down at the inner corners and up at the outer corners. 
Inside corner: Pull the line down following the angle of the upper lash line.
Outer corner: Pull the line up following the angle of the lower lash line.


Step 3: To set the liner and soften the look, use a small pencil brush or smudge brush to run a soft beige-brown shimmer along the upper and lower lash lines. This helps to set the liner as well.


Step 3 for hooded lids: If you have downward sloping lids, mono-lids or a heavy fold, use a fluffy blending brush to spread the shadow out very softly upwards at the outer corners, instead of in a tight line. You want to enhance the shape/shadow. Don't over-apply shadow.


Step 4: Curl lashes and apply mascara to finish. If you want to intensify the lash line a bit more, you can always reapply a little black liner around the waterline.

Wednesday, April 4, 2012

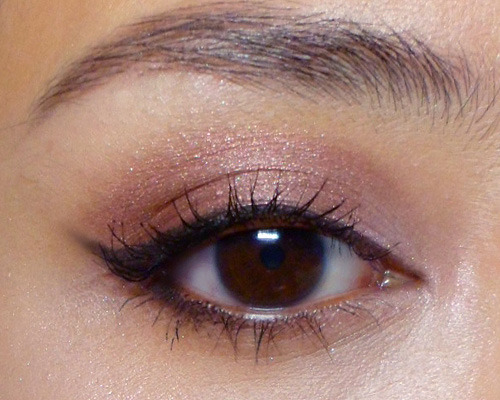
Getting the Perfect Cat-Eye with Powder Liner


---
This is a tutorial for getting a softer, simpler cat eye liner look using powder rather than gel, pencil or liquid.
The benefits are that:
  • powder is easier to control, especially if you're new to eye liner
  • if you make any mistakes you can rub it away easily
  • you can go on light, and then build up intensity when you like the shape/angle
  • you can use it dry for a softer look, or damp for something that looks more like liquid liner (be careful which shadows you use though. Not all work wet.)
  • you can use pretty much ANY eye shadow or pigment of your choice, which means the color options are endless
---
The application technique is actually the same as when you apply gel or cake liner with an angled brush.
The easiest brushes to use for this look are flat angled brushes. Wider/larger brush heads are actually easier for getting extended wings. Natural hair brushes also tend to work better than synthetic ones as they pick up more pigment.
---
Step 1: After applying the rest of your eye makeup, dab the tip of your angled brush into black shadow or cake liner. I'm using it dry for a softer smokier line. You can dampen your brush to get an intense line if you're using cake liners or loose pigments.
---

Step 2: Use the LOWER LASHLINE AS THE GUIDING LINE for the angle of the brush.  I simply place the brush along the outer corners of the bottom lash line and then gently stroke the brush along that line. Extend inwards along the lower lash line. 
This step is key because it:
  • helps you to make the angle of the flick more balanced on both eyes
  • gives that gorgeous sweeping arc of liner when you close your eyes, as this follows your natural eye contour. 

---

Step 2: Next, line your upper lash line. All you do is pick up more powder with your brush and tap off excess before placing it right at the base of the lashes and wiggling gently to "push" the pigment onto your skin. Then remove your brush, pick up more powder, and then place it along the next section of your lash line. Don't try to stroke the brush all the way from one end of your eye to the other. This is MUCH easier and much more precise.
---

Step 3: To get rid of a harsh angle between the flick and your upper lash line, place your brush along the flick and then stroke it inwards diagonally towards the center of your lid. This thickens up the line at the outer corners without ruining that beautiful angle.


Sunday, March 11, 2012

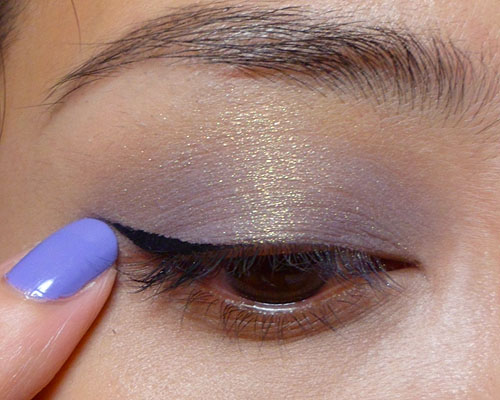
Dummies' / Cheater's Guide to Winged Liquid Liner (plus Tips and Tricks)

can you give a small (or large!) tutorial on the liquid liner cat eye? not the runway super wild one, just something real and wearable but that will still make an impact. i'm going to a wedding tonight and i'd love to wear my make up that way. thanks so much!!
---

Liquid liner is usually considered the most difficult to work with, compared to pencils, powders and gels. But it does give the most intense, opaque and dramatic lines, so if that's what you're going for, the below might help make things just slightly easier.
---
Step 1: If you have oily lids, then no matter whether you're wearing shadow or not, it's best to apply primer and some powder onto the lids to keep them dry so your liner does not smudge or break down over the day.
---
Step 2: This is the cheater's way of doing it.
I use a black shadow and a small flat angled brush to draw in a guiding line first. This line should be parallel to the curve of your lower lash line, and almost look like an extension of it. This is where you adjust the angle and length of both eyes until you're more or less satisfied that they're even. A powder is easier to rub off and correct than a pencil.
DUMMIES' TIP: Always draw THE EYE YOU ARE LESS COMFORTABLE WITH first (if you're right handed, start with your left eye) as you can match the flick on your main-hand side to the other much easier than if you did it the other way round.
---
Step 4: Clean off your liquid liner brush so that you have a minimal amount of liquid on your brush (or felt tip) and then go over the black powder flick carefully.
CHEATER'S TIP: Don't worry about going all the way to the end. Just use a finger nail to scrape the base of the liquid liner and pull it out wards for that razor-sharp flick.
---
Step 5: Finish by drawing a very thin band of liquid liner from the inner corners outward in short strokes until it reaches the wing. If you make any mess, just quickly wipe it away with a finger before it dries. 
---
Step 6: Slowly thicken the outer half of the line (from center of eye outwards) if you want a more dramatic, slanted wing. If you want a simple kitten flick, you only need to thicken it very slightly.