Thursday, October 31, 2013

Balmain Eau d'Ivoire Eau de Toilette review

Balmain Eau d'Ivoire Eau de Toilette
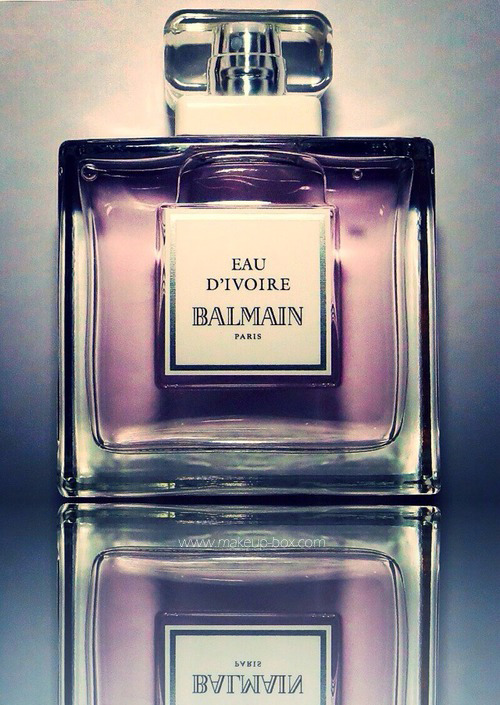
From looking at the classically-structured Balmain glass bottle alone, you might not guess this is a sporty, fresh and almost girly fragrance. (In fact, I couldn't resist doing some “antique” photo effects with that beautifully-simple bottle.)

Here's the official visual.
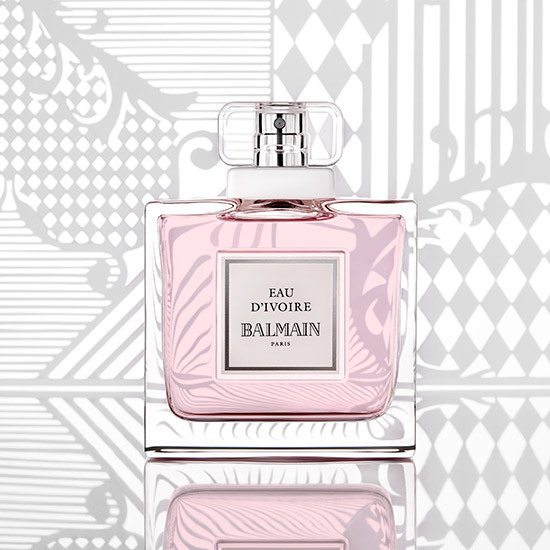
Balmain Eau d'Ivoire posed with classic the Balmain print
Scent wise, it’s quite minimalist but incredibly easy to like. Actually, on first sniff, it brings to mind not one - not two - but several “pink” colored perfumes.

Dior Addict Eau Fraiche and Gucci Eau de Parfum II

Scent Breakdown:
It starts out fresh and juicy, then blooms into a clean white floral, before a very green/minty base.
  • Top notes: Bergamot, red currants
  • Heart notes: Magnolia, osmanthus 
  • Base notes: Patchouli, ambrette seeds
I smell predominantly mouthwateringly tart red currants and a shower-fresh magnolia. It invites people to take deep breaths on warm days. (I would love my shampoo to smell like this.)

Then it slowly warms up and becomes more unique as the osmanthus comes in, a floral note I adore and think should get a bit more airtime among perfume lovers. For those living outside of east Asia, osmanthus is a flower with a beautiful fragrance that’s (to me) somewhere between honey and tea. In fact, it’s often candied in syrups, and used in sweet herbal teas and desserts, the way violets are used in Europe.

If you don’t like the sometimes sharp and musky scent patchouli has, don’t worry. It’s very soft in Eau d’Ivoire. In light doses, it smells just fresh and minty. Here, it combines with the herbal buzz of ambrette seed just to add a little texture so the fragrance doesn’t just smell completely like expensive shampoo.
Sounds weird but smelling Eau d’Ivoire makes me salivate. I think of fresh, ice-cold lemon tea on a warm day. It has the tart, refreshing fruitiness, the delicately sweet body, and the slight after-bite of good strong tea. 

Lasting power:
So-so; 3-4 hours (again typical of most fresh summery EDTs).

One minor gripe:
The white neck isn’t stuck on tight and often swings out of alignment. Not a big deal but an annoyance for OCD people. Still, I can hardly complain because Balmain is one of the more affordably priced and accessible fragrance lines by a design house.

Pricing and Availability:
Balmain Eau d’Ivoire is available from SGD65 in Singapore exclusively at Metro department stores until end-Oct, after which it will be available at Tangs and Robinsons.

 £46 from House of Fraser, Seldridges, or Escentual.com , from AUD65 from Myer. Unfortunately, it’s quite a bit harder to locate in continental USA and Canada. I’ve seen a single bottle on Amazon from a German perfume outlet, and none on eBay so far. (If you’re really dying to try it, you can email luckyscent.com to see if they might be able to bring in some since they stock another classic from Balmain, Ambre Gris.)

Tuesday, October 29, 2013

My Lash Routine: A Few Simple Tips to Maximize your Lashes!

If you want super long and well-curled lashes, you have 3 options.
  1. Wear falsies
  2. Go for lash extensions
  3. Do your best to maximize what you have!

Eye before lashes are done. Makeup done with Wet n Wild Greed palette

Eyes after lashes are done with Maybelline Great Lash mascara

The first thing to remember is that it’s not just about what mascara you use. If you have very stubborn lashes (thick hair shaft) that straighten quickly, then you'll do better with waterproof formulas which are stiffer. If your lash shafts are medium-thickness like mine and aren't too hard to curl, regular mascara will work fine.

Lash-maximizing tools from left: Lancôme Cils Triple Boost, Browlash EX Gel Liner, New Eyecurl II heated lash curler

Tip: Running a little black liner along the upper lash line and smudging it out mimics shadow cast by dense lashes and helps to "fill in" the visible gaps between your lash hairs

Lengthening is not done just to the tips of the lashes. Well-done tight-lining at the base of the upper lash line "extends" the lashes at the roots, by creating the illusion that they start 1-2mm lower than they really do

Lash curling: If you have very straight, short and stubborn lashes, this step is compulsory. Curl them at least at the roots so they are lifted. This is just done to make mascara application easier. Don't worry if lash curlers never managed to keep your lashes lifted for long.

Optional step: You can go ahead and apply a lash base at this point. It definitely does beef up the lashes, but also can make them look clumpier and more obviously unnatural. You can go with the fiber formulas like the one from Make Up For Ever) or the subtler bases (like ones from Lancome or good ol' Ardell Lash/Brow Growth Accelerator).

Tip: One trick is to quickly get your mascara on before the lash base dries completely. This way you get nice natural-looking tapered tips instead of odd bent "burnt-twigs". So do one eye at a time.

Use whatever mascara you like, but I recommend a formula that coats your lashes evenly, with minimal clumps.

This is where you actually curl your lashes. The best thing I ever learnt was to use heated lash curlers AFTER mascara. Hold your lashes up for a few seconds.

This melts the mascara, removing clumps, and curls your lash at the same time. Then once you remove the curler, the cool air hits your melted mascara, which goes through a quick-cool process and becomes stiffer than it usually is, which helps it to hold curl even as your lash. The more stubborn your lashes, the longer you should hold it, but don't overdo it and singe your lashes off. 5-10 seconds per section should be sufficient.

Note: the absolute best lash heater I've tried is New Eycurl II, which is a China-manufactured lash heater from Sasa outlets in Singapore (it might be in Sasa in other countries as well but I haven't checked!), which is hotter than most lash heaters - and very affordable at under S$16. Regular ones still work; just not as fast. 

The reason not to lift all your lashes equally is because it can look very unnatural and unflattering when the lashes at the outer corner go straight up and inwards. It looks far better both from the front, and the sides, when they don't go up as high as the center lashes.


[Requested] Basic Nude Lip Smoky Eye Makeup Look: Diorshow Aventure and MAC Blankety


Classic nude lips and smoky eyes in a few easy steps!

One of the easiest and most flattering looks to pull off a nude lip. Here is an easy step-by-step, and some tips to making it more wearable, and quick options for a day-appropriate version!

Try:
Rich browns, charcoal and grey, or even deep jewel tone on the lids
A pink or peach blush that isn't too neutral or deep in color; a soft wash of radiant color balances out the overall look. (Don't keep trying to match your blush to your lip color when you're wearing nude.)
To avoid the "concealer lip", which can be quite unflattering for many people, try a nude lip pencil that matches your lip color closely as a base
For this look, I'm using a charcoal grey cream shadow.


Saturday, October 26, 2013

Lancôme Noel 2013 Holiday Collection Swatches/Review!!!

An early look at swatches of the unreleased Noel 2013 Collection from Lancôme, which will be out from November 2013, and - O.M.G… IT IS GORGEOUS…

This collection will be available globally (thank goodness), although a few of the shades and exact release dates might vary from region to region. (I'll update with pricing information soon; don't have it right this moment!)

Lancôme Hypnôse Cream Eyeshadows in Star, Drama, and Doll Eye textures.

These babies are more pigmented than the Diorshow Fushion Monos, but the textures are not all consistent!
From left: Sapphir Noir, Quartz Taupe, Emeraude Eternelle, and Diamant Argente.


The limited edition Hypnose Star Mascara in a starry tube, and a Swarovski-crystal coated l'Absolu Rouge in a holiday-exclusive shade, #394.

Use it as a highlighter, an all over body glow, or an eyeshadow. Rose Etincelle blush-highlighter compact is almost too pretty to use.

The unexpected favorites from this collection. These look like normal polishes, but they are most definitely not. These are MATTE. If you can't quite picture how matte nail polishes can also be incredibly glittery or frosty, go down to the link at the bottom to see nail swatches!

A bit of fun for lazy girls who want all the drama of a perfect flick, but don't want the hassle of drawing it on themselves. These stick on patches can be re-used up to 3 times. (I'll experiment to see how you can make them last longer!)

Beautifully rich and pigmented Absolu Velours go on matte but settle to a beautiful glossy finish. See lip swatches in the link below!

To see the full post and lip and hand swatches of the stuff you see above, click here!

Thursday, October 24, 2013

Stila Magnificent Metals Foil Finish Eye Shadow Review and Swatches

Stila Magnificent Metals Foil Finish Eye Shadows: Comex Platinum, Titanium, Comex Gold, Vintage Black Gold
What they are:

These are neither cream shadows nor loose pigments. They are very interesting and unique. These are intense metallic pigments suspended in a light fluid silicone/wax/crosspolymer base. It’s more like curdled milk than a cream shadow, because the dry pigments are not soluble in the silicone base.

The pigments and silicones both dissolve in the priming liquid thpugh, so they blend and smooth out once you mix all 3 things together.

Without getting too technical, I’ll just say they can be used on their own without the “primer”, but they can flake, look uneven, and won’t set and stay in place. With a tiny bit of the liquid primer, they smooth out like Chanel or Dior cream shadows, build up and apply more evenly, and last much better as well.

The Kit:
Stila Magnificent Metals Eye Shadow in Metallic Laurel, shown with items in a full kit
You get a little box including:
  1. A pot of metallic pigments
  2. A tiny dropper bottle of the confusingly-named “primer” liquid (it’s more a liquid sealant because you don’t use it to prime your lid)
  3. A small flat metal pan for blending the 2 together

Stila Stay All Day liquid eye primer for Magnificent Metal pigments

Application:

Definitely not recommended to wear the pigments on their own without the base because they can smear, flake and crease quickly. While the instructions are for you to add a drop of priming liquid to some shadow and blend on the metal pan, I find it hard to control the proportions and and leads to a lot of product wastage.

Stila Metallic Laurel swatched with and without the liquid primer
Stila Metallic Cobalt swatched with and without the liquid primer
Tip: My preferred method is to dab a tiny bit of sealing liquid onto the center of your lid, then use a finger to apply pigment over, and blending right on the lid.

To see detailed pros and cons of these, click here

Tuesday, October 22, 2013

Bobbi Brown Old Hollywood Soft Gold Smoke Tutorial

Simple evening look with Bobbi Brown's Old Hollywood collection, Old Hollywood Lipstick, and Siren Red lipgloss.
Took a shot at the Bobbi Brown Old Hollywood collection, and instead of doing a typical 40s-50s look, I kept with the flicked eyeliner, flushed cheeks and red lips, but updated it with a shimmery smoky lid in a “cat-eye” shape instead of a “kitten eye”, dewy skin, and dripping-wet lacquered lips.

Bobbi Brown Old Hollywood Eyeshadow palette: chockfull of subtle neutral shades. It's not extremely pigmented, just so you know!

image
One thing I’ve fallen for is the Long-wear Cream Shadow Stick. They’re all incredibly smooth and pigmented, plus you get plenty of time to blend and smudge them out before they set. Here I used Tuxedo Black. If you’re not able to get hold of it, use a creamy black pencil.

image
This bit of black along the lower lash line makes the “cat eye” look. The main difference between “kitten” and “cat” eye is whether you bring liner down along the lower lash line. Traditional kitten liner runs only along the upper lashes. Liner along the lower lash line creates an exaggerated almond shape which is more sultry and catty.

image

See the rest of the tutorial here or click the image below to see the swatches of the Old Hollywood collection!

Key pieces and shades in the Bobbi Brown Old Hollywood Holiday 2013 collection.

Thursday, October 17, 2013

Laura Mercier Smooth Finish foundation powder in 04

Laura Mercier has long been a brand known for great base products, from one of the first and best known lines of foundation primers in the world, to the best-selling Secret Camouflage, one of my favorite blemish concealers ever.

Here’s a quick feature summary of Laura Mercier’s new compact foundation powder.
  • velvet finish
  • medium-high coverage
  • no sun-screen (zero flashback in flash photography; I checked!)

The great thing is the finish of this foundation powder is matte and velvety, but your skin will look luminous, not flat. It actually contains oil-based conditioners (shea butter and vitamin E) so it’s very good news for slightly dry or mature skins because it won’t emphasize lines as much as most other powder foundations. But here’s the catch; it’s not stellar at oil-control. If you have oily/combination skin, expect to see the shine breakthrough in about 1-2 hours. I’d say this would be better for normal or slightly-dry people who like a velvety finish.

If you love the finish but have oilier skin, prepare to blot every few hours.

Coverage: variable as with most powder foundations, depending how you apply it. (More on that below.)
Shade range: The shades come in yellow and pink based shades but I find even the “yellow-based” ones to be more neutral than yellow. If you use C and NC in MAC, make sure you try before buying because the range might be warmer (pinker) than you’re used to. Also remember there is minimal oxidation, but it will still darken slightly by the end of the day.

A weekend face of the day using Laura Mercier Smooth Finish Powder Foundation.

3 Alternate Ways to Apply your Two-Way Powder Foundation!

Aside from using it with a dry or damp sponge, you can get more precision and a more seamless “second-skin” finish using 3 different brushes. Just remember that this always goes ON TOP of liquid or cream concealer. Not under.

My 3 alternatives to a sponge, for applying powder foundation!
  • A regular big face brush: This is the way to get sheerer coverage. Just dust it on like a loose powder to set liquid foundation or concealer. To get a less powdery look, use a slightly smaller flatter brush like Sephora’s flat blush brush #42.
  • Eye buffing brush: One of my favorite tricks. Dab the powder foundation on with an eye buffing brush to add precise coverage, set concealer and mask contours over raised spots.
  • Flat foundation brush: Med-high coverage with a slightly less powdery look can be achieved by just pressing dry powder foundation on with the flat of a foundation brush. (Demo below.)
To see the full application demo, click here!

Wednesday, October 16, 2013

Urban Decay Vice 2 Palette Eye Tutorial: Quicksilver


I wasn't actually intending to do a 4th eye look using the VICE 2 palette, but it just happened!
If you haven't seen Shellshock, you can see all the close-ups of swatches here. It's a super-intense, molten silver that makes everyone go "whoa" when they swatch it for the first time. Silver can look very harsh and dramatic, but this is a rather wearable look - without muting or dulling down the silver - so I'll mention some tips that make it easier to pull off.


Aside from the 3 shades shown above, you will need:
  1. a nude or soft silvery cream base for the lids
  2. a charcoal grey pencil like NYX Charcoal
  3. black mascara

image


image


image
 Tip: Keep silver just under the socket line instead of spreading it up too high. This allows you to pack on the color intensely while keeping things quite wearable.

image
 Tip: Silver can wipe out your eye contours if you apply it over the entire lid. Make sure you add a darker shade around the outer corners, the lashes, and/or the socket line.

image
Tip: One other way to soften the harshness of silver is to pair it with a soft color in the opposite tone (warm), like a pearly peach or gold. 

image
And there's that! The color that people notice is still the silver, but the soft gold and dark charcoal purple at the outer corners just balance it out and add the definition back.


Other Vice 2 Palette Posts:

Thursday, October 10, 2013

Dior Vernis 607 Blue Denim with gold star decal on ring finger.

Dior Vernis 607 Blue Denim.

Rich royal blue nail polish with a touch of indigo.

Dior has great varnishes. They have the same type of big one-stroke brush as Lancôme varnishes do, and while they are exorbitantly expensive (as usual), the good news is you can get full coverage in one coat with many of the creme formulas, so you really don't use that much product compared to a lot of polishes. 

But the formula is quite thick and dries out quite quickly as well, so make sure you have a nail polish thinner like Seche Restore (I don't use anything else because this works SO well) on hand to thin it out.


I applied two coats for a thicker lacquered effect, applied gold metal stars to each ring finger. (You can use either nail glue or a tiny bit of craft glue to glue them on!)
Tip: Make sure you press each piece of metal decal to a curved object like a pen, so that it curves. If it's flat, it won't fit on the surface of your nail properly. 

Metal decals are available from online stores like Bornprettystore.com for just a couple of dollars for 80 pieces. (Now there's a deal.) Delivery takes awhile if you opt for free international shipping, but it usually arrives in a couple of weeks or so.

Just make sure you apply a very nice thick layer (or two) of topcoat so the edges aren't sticking out much. The more they curve to fit your nail, the longer they stay on!