Showing posts with label celebrity makeup. Show all posts

Saturday, May 11, 2013

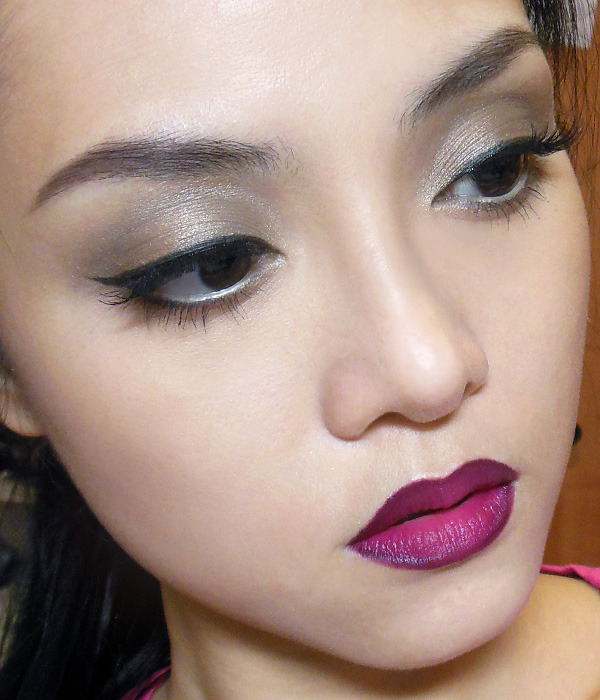
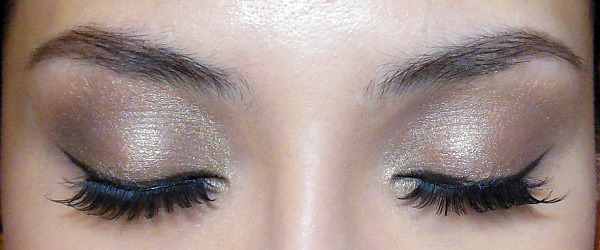
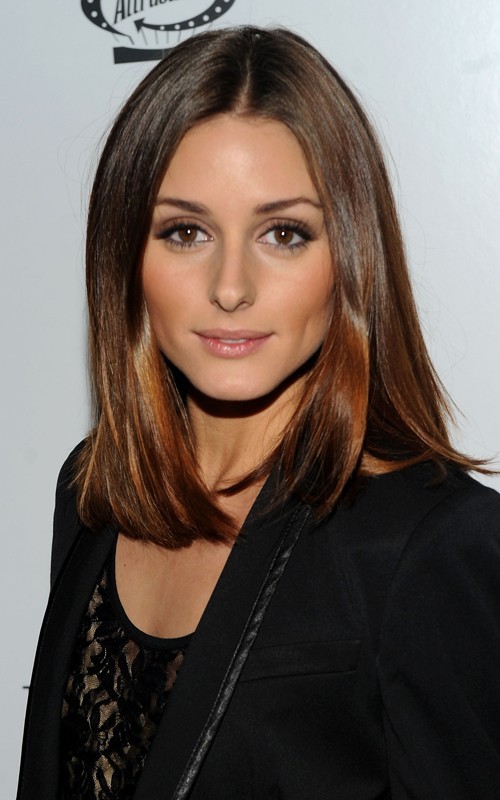
Olivia Palermo Eye makeup: Tips for women with thick lids and/or deep sockets


Olivia has got to be one of the most beautiful women in the world, in my opinion. She reminds me of Penelope Cruz, Heather Graham and Shania Twain all rolled into one.

I was VERY hesitant to do this post despite a lot of requests to do an Olivia Palermo look, because the truth is her eye makeup is quite straightforward and simple (which I can recreate and give tips for), but the end result is really largely due to her natural eye shape (which I can't recreate). 
  • Very deep and defined sockets
  • Huge, rounded eyes, slightly down-turned at the outer corners
  • Very thick double-lids
  • Medium lid space (probably the only thing I have in common with her, in that her brows are not very far or very low and close to her eyes)
Even with the same makeup I will never look anything like her, but if you have a similar eye structure (a lot of Indian and Mediterranean women do), then this is a fantastic look for you.

Sunday, March 31, 2013

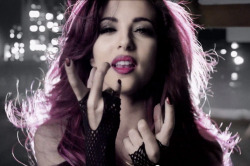
[Requested] Jade Thirlwell makeup in DNA makeup tutorial: Classic Neutral Glam Eyes and 3D Burgundy Lips)


Seems Jade Thirlwell's makeup in the DNA video is causing quite a stir.

Basic theme:
Now, the video has special lighting and some color editing so there's a noir sort of atmosphere, and the skin of all the girls looks a little sepia-toned and monochromatic. You won't see any blush on their faces. There's just matte, clean skin and a bit of matte contouring around the cheeks. Contrastingly, their hair and lip colors are processed to show up more visibly.
Each girl has a slightly different neutral glam eye, and "3D lips" done in different shades.


Jade Thirwell's Look:
Jade's lip was colored in deep berry tones to match that incredible burgundy hair. Her eye makeup is a slightly softer and more romantic than some of the smokier or cattier looks the other girls sport. There isn't any obvious contouring; just thick liner along the upper lash line.
I would say ANYONE can do this look, although the effect will be more dramatic if you are very pale, with dark hair.


Read the full post here!

Thursday, December 20, 2012

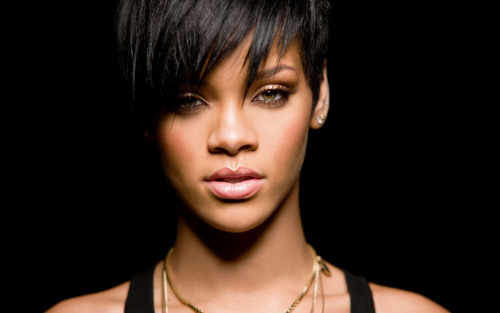
Rihanna Neutral-Eye Makeup: Tips and Tutorial!


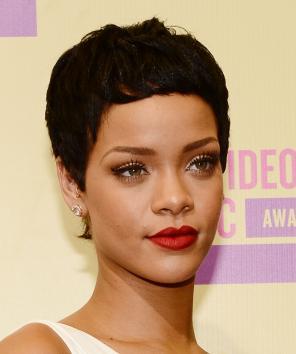
One of the recurring themes in Rihanna's makeup is that of a neutral but defined eye, and strong lips.
She always has groomed brows, defined neutral brown shadow in the crease, subtle contouring and not too much color on the cheeks, paired with a lip that she changes out which way depending on her mood and outfit.
This is a very clean, CLASSIC look that would take you from weekday to weekends, BBQ to club easily.

Here's a quick breakdown!


Skin:
Rihanna's base is always pretty matte. She isn't a huge fan of shimmery highlighting or a "dewy" finish in most cases. Try an oil-absorbing or mineral powder foundation to minimize the shine, but don't over-apply powder, because you don't want a flat and heavy look.
Her skin is usually still quite luminous looking.

Cheeks:
Rihanna seems to skip blush a lot of times, opting for subtle contouring along the cheekbones instead. Always look for a bronzer that is not too red/copper. It should have taupe/grey tones so it can mimic actual shadows on your skin.
Look for a pressed powder 2 shades deeper than your actual shade and use that as a contour instead!

Brows: 
Rihanna's brows are always groomed and filled in with a soft taupe brown. Instead of using an eyeliner pencil which can be too pigmented and strong-looking, I do suggest looking for a waxy, less pigmented brow pencil or even a matte taupe eye shadow instead, since these will give a much softer effect.
Occasionally she throws in a nice warm coral/pink tone just on the peaks of the cheeks, above the contouring. Most of the time, it doesn't look too shimmery. Try Fleur Power from MAC (Pinch o' Peach if you are pale).

Eyes:
Rihanna likes definition. And why not? She's got those gorgeous cat-eyes and definition with liner and contouring emphasizes their shape.
The key thing is her liner. She often rims the inner lid with black, and pulls the liner into a very short and subtle flick at the outer corners, more to emphasize the tilt of her eyes than to look very obvious on its own.
image
Step 1: Begin with a matte brown for contouring the crease. There is one thing to remember. Rihanna usually doesn't pull the contour all the way to the inner corners. Start at the center and blend outwards.
She also doesn't follow the contour of the socket and pull the shadow downwards. Her artist pulls the brown straight outwards. This is a tip to "lifting" your eye shape and creating a more cat-like look.

image


image
Step 2: Liner is key to Rihanna's look. The emphasis for Rihanna is usually the outer half.
There are 3 steps.
  1. Start from the outside in, and draw a straight line from outer corner to the center of the eye. It should be thickest on the outside and disappear to nothing at the center. As a finishing touch, use your nail to scrape the outer corners of the liner outward and up slightly, to make a very short (and very easy) wing.
  2. Line the inner rim of the upper lash line (under your lashes) all the way from inner corners to outer. This emphasizes and defines the eye shape but doesn't weigh down the lid with a lot of black. 
  3. [Optiona] Rihanna likes to line the inner rim of her lower lash line as well, but she doesn't do this 100% of the time. You can skip this if you prefer (and especially if your eyes have a tendency to water). If you have narrower or smaller eyes but want that catty effect, do what I did below and draw the line only halfway. A full line can make small eyes look even narrower.
image
 --
image
Step 3: In some shots and looks, Rihanna's lids look like they gleam a little. If you have oilier lids, just leave out this step as your natural oils will create that sheen.
If you need a little extra sparkle, dab a tiny bit of shimmery beige or champagne right in the center of the lids. This creates that nice gleam. 


Step 4: Finish with mascara! You can emphasize that catty look by pulling your mascara wand diagonally up and out at the outer corners and simply concentrating on the outer lashes. If you prefer falsies, then use half-strips at the outer corners. You don't want to make things too dramatic, because you lose that fresh, sexy look Rihanna is channeling.


Lips:
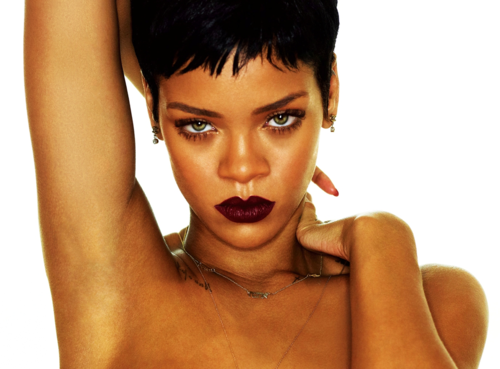
This is where you go to town. Rihanna has sported tons of colors so don't restrict yourself.
  • For a good deep red, try MAC's Russian Red or Ruby Woo with Auburn lip pencil.
  • For a deep dark shade, Film Noir or Wet n Wild Cherry Bomb are great. (You can also fill in your lip with a kajal or khol pencil and dab a little deep red or plum over for a super-dramatic effect - just make sure it does not contain any lead in the ingredients list!) 
  • That, or go au naturale with a tiny bit of clear gloss or lip balm!
Sunday, August 5, 2012

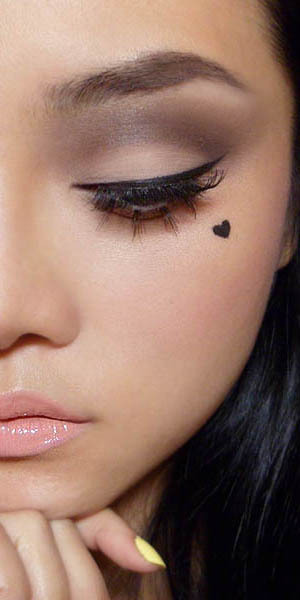
Marina and The Diamonds Nude Lip Look: Retro with a Twist


This is a rather Classic look which would suit anybody. 


You would just need to adjust the colors you use depending on how pale or deep your skin tone is. You would need:
  • 2 matte shadows: a pale beige (you can use a pressed powder) and a dark brown (Revlon Rich Sable)
  • black gel liner (Maybelline is a good option)
  • 2 sets of false lashes; a natural-looking full-strip for the top lashes, and a strip of separated clusters on a clear strip, like below
  • a soft beige-pink blush (NYX Angel) or anything that doesn't really stand out too much on your skin
  • a nude lipstick (I used Lime Crime Coquette)
  • a pale mauve-pink glass (Revlon Colorburst in Crystal Lilac)

Step 1: Apply the pale beige all over the entire lid from lash line to brown bone.


Step 2: Apply the deep brown shadow along the hollow of the socket line. 


Step 3: Smoke the brown upwards towards the brow. Leave just the brown bone clean. Wing it out slightly at the outer corners. If the beige on the mobile lid (near the lashes) has been muddied, simply reapply the pale shade again.


Step 4: Apply your gel liner along the upper lash line and end it in a flick. Follow the lashes all the way, down and then out in a soft curve at the outer corners. Marina's flick starts quite low so the look is more retro and isn't that "catty".


Step 5: Marina doesn't have any skin showing below her lashes, which means you will need to run the gel liner along the tightline, under the upper lashes. Make sure you don't see any skin there.
Then run a matte beige (Nars Rue Bonaparte) or white liner along the lower lash line.


Step 6: Apply full strip lashes to the upper lash line. (I used Ardell 120 Demis, as usual.)


Step 7: The fun bit is the lower lashes. You can buy a box of clusters, but it is far easier (and looks nicer) to cut up the full strip of cluster lashes above, so you have individual chunks with a wide, flat base rather than a point or a knot.
Begin from the outside and work your way in, pasting the lash clusters top-down over your natural lash line. If you need to shift any clusters so they're spaced evenly, just reapply glue and place them back on. Don't paste them them on the waterline itself.


Step 8: Apply a nude lipstick to your lips and then blot lightly.


Step 9: Top your lips with a pale pink-mauve gloss just for a bit of a cool-toned sheen.


Step 10: Using your liner brush and the gel liner again, draw a V to place the base of Marina's signature "heart"-shaped beauty mark on the left side of your face. It's easier that trying to draw a heart from the bow shape at the top.


Step 11: Simply fill in, and you're done! If you need to edit any mistakes, use a tiny lip brush dipped in a little oil-free makeup remover and gently clean up the edges.

Friday, April 29, 2011


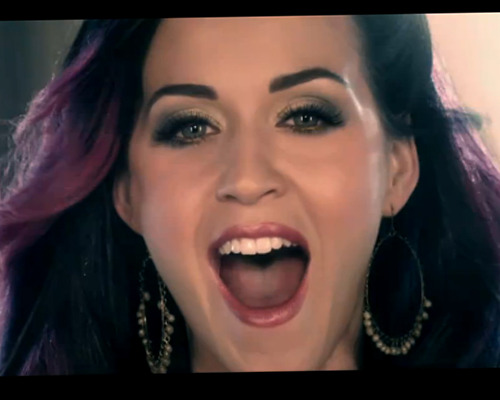
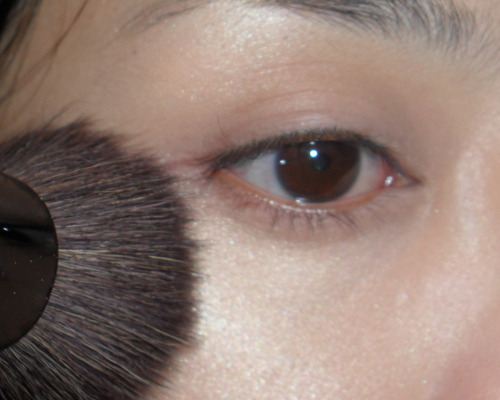
1. Katy's foundation coverage looks quite full in the video, and a polished look was achieved using highlighter rather than a dewy base. You will need medium-coverage foundation (Bourjois Healthy Mix in #52) and a soft beige/champagne highlighter (TheBalm "The Luminizer").

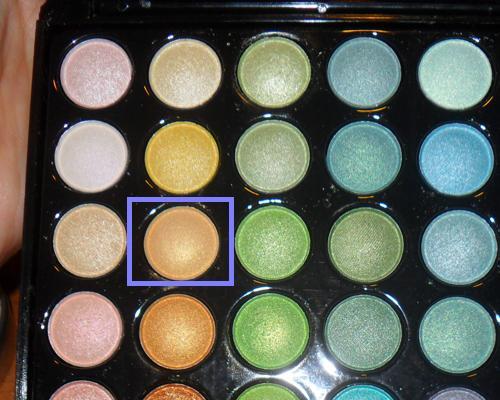
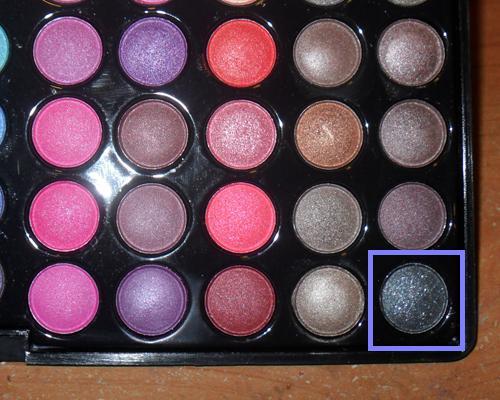
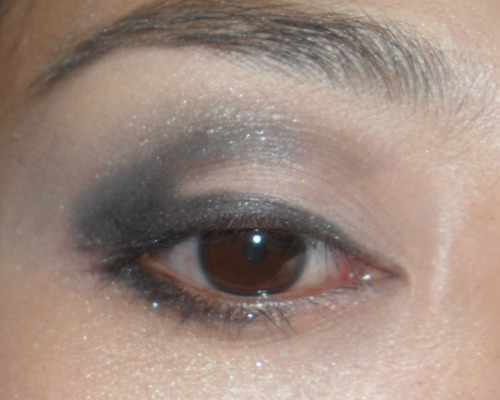
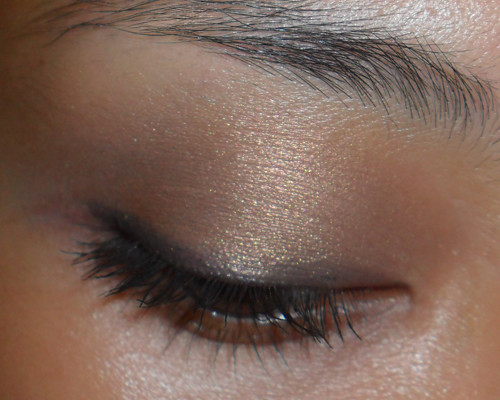
2. This is a very classic contoured eye, shaded in the outer V and along the socket line. There are 2 colors needed. A pearlescent peach-based gold and a basic grey/black. (I used the 88 Shimmer palette.)


3. Using the black shade, first pack into the outer corner of lids, then in an arc along the socket, stopping before reaching the center. Then trace all along the top lash line, and 2/3 of bottom lash line. It will look dramatic now, but you're going to blending it out soon.


Read More!

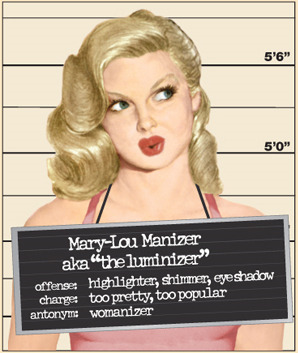
About: TheBalm's "Luminizer" (aka Mary-Lou Manizer, or wateva...)


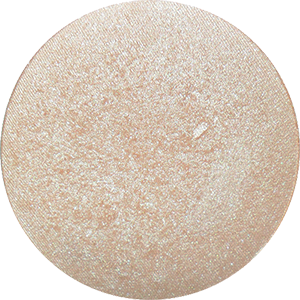
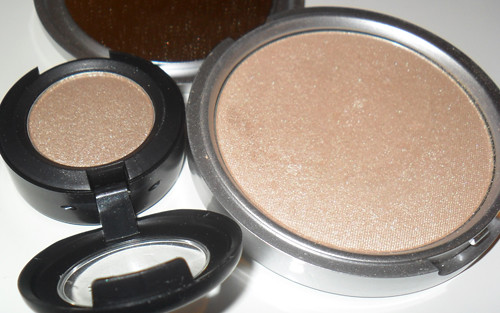
Unwieldy name aside, this is a lovely, LARGE compact of one of the most beautiful golden-ivory shades I've ever seen.
Reasons I love this:
1. It's the most gorgeous pale-champagne shade with smooth-as-butter texture which is not glittery or chalky. It is able to mimic that translucent dewy look liquid or cream highlighters give, but is so much more portable and easier to work with. The shade is also flattering for most skin tones.

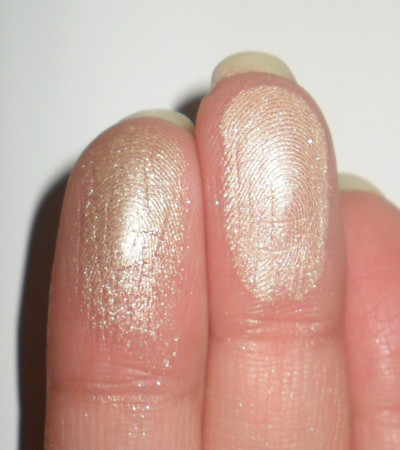
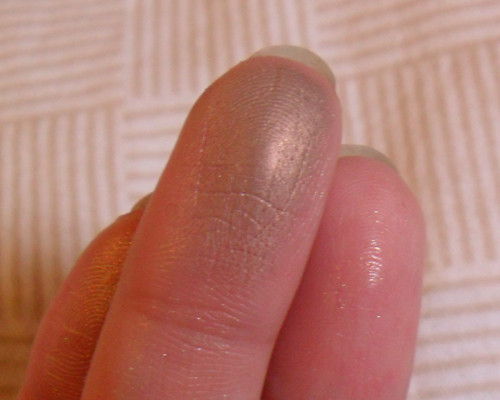
2. This is a pretty good dupe for MAC's Retrospeck (which has slightly deeper base tones but identical highlights). As seen below, it is finer-grained and more opaque (Retrospeck is a Lustre) so while you won't be able to get that same flecks-of-champagne effect, it's easier to work with, more pigmented, and gives a very natural sheen when sheered out.

3. Look at the amount you get. Both products are marked up here in Asia, but you get 8.5g of product in The Luminizer (5 x MAC shadows at 1.5g), and an ever-so-cute mirrored compact, for about 0.5 times the cost of a MAC shadow.

---
Tips for applying:
  1. I swipe this on my brow bones and cheekbones with a wedge sponge after applying my base, and before doing the rest of my makeup. By the time my setting powder goes over it, it's become a soft-focus highlighting sheen which emphasizes bone structure subtly.
  2. I sweep this over lids softly with black kitten liner. Apply red lipstick to complete the retro pin-up look.
  3. Dab this softly over the cupid's bow, and in inner corners of eyes to enhance your features.
  4. If you have light to medium skin, mix a tiny bit of this with your normal powder on a fluffy brush and apply over under-eye concealer for more illumination. THEN apply the rest of your makeup. (Caution: It may be easy to go overboard with this, so be careful and use a very light hand!)

Tuesday, April 26, 2011

5 Days, 5 Ways: MAC Patina shadow (Frost)


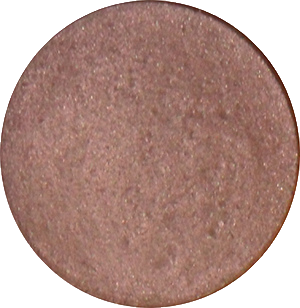
MAC Patina may not stand out on the eyeshadow racks beside its more dramatic relatives, but this rich medium frappuccino-brown with subtle copper-red highlights (below) is oh-so-beautiful to wear.


If I had to own just one single MAC eyeshadow for the rest of my life, it would be this in a heartbeat. There are some other pretty lovely shades, but nothing I reach for on such a regular basis.

O Patina, how do I love thee? Let me count the ways...

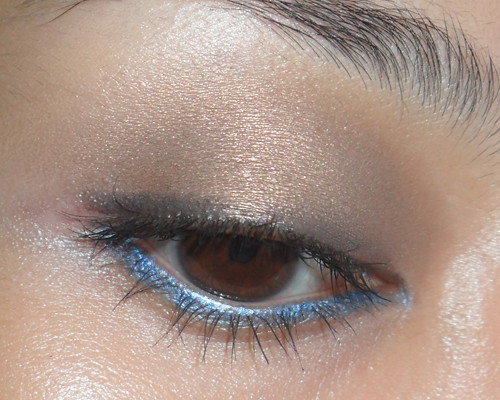
Day 1: As a simple, rich wash of color over lined lids.


Day 2: Spiced up with colorful eyeliner along the lower lash line. (And yes, just about every color liner will work with Patina.)


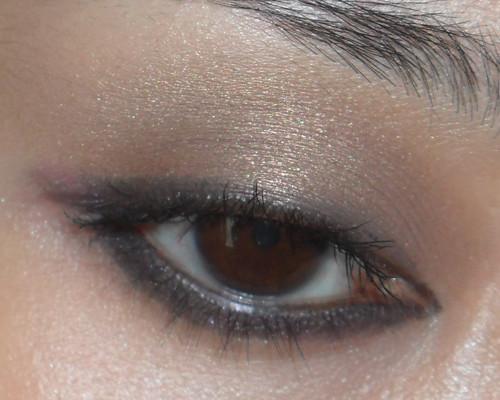
Day 3: Out for dinner and drinks with lots of black, smudgy reverse liner on the bottom lash line. (This photographs subtler than it really is.)


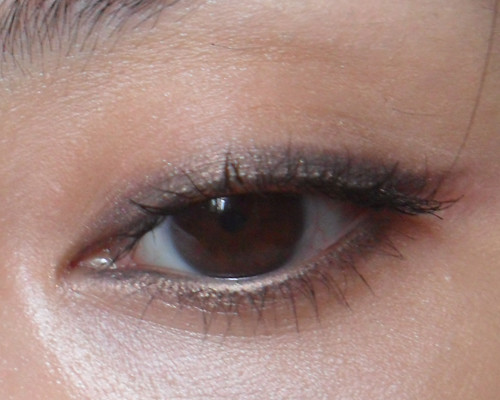
Day 4: Clean and simple. Worn as a bronze liner, traced over black pencil with a dense smudge brush.


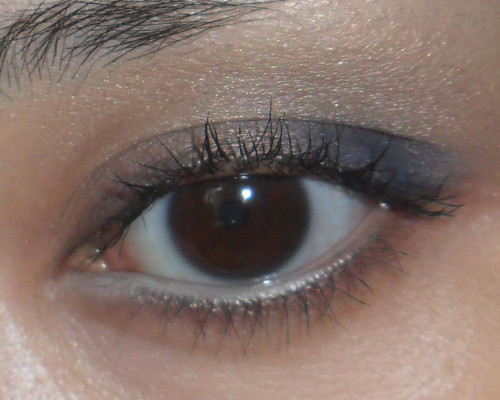
Day 5: Kick off your weekend with a little more color. Worn with vanilla liner on the bottom lash line, and navy shadow on the outer corner.


Now have you tried Patina?
---

A SPECIAL INTRODUCTORY NOTE ON "5 DAYS, 5 WAYS":
I came up with 5 Days, 5 Ways specifically as a means to
  • use more products, rather than buy more products
  • highlight some very versatile items which I believe are worth investing in
  • challenge myself to think out of the box
Feel free to have fun with this idea, and I'd love to see photo-replies!

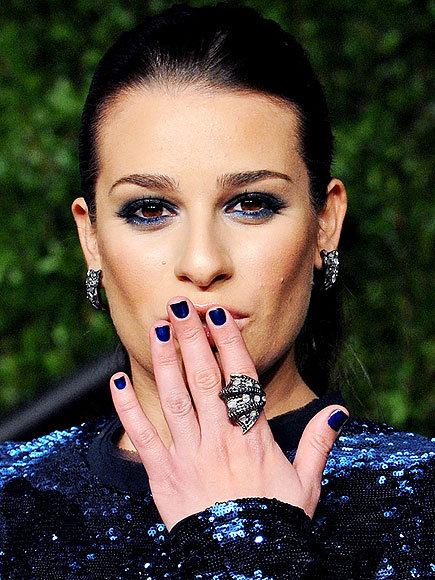
Lea Michele Red-Carpet Sapphire Look


Photo credits: People.com

I don't have any particular love for Lea Michele. I happen to be one of the freaks on this planet who has only watched 1 episode of Glee, and didn't feel compelled to follow up with more doses.

But I love this deep, dark sapphire eye. It brings out the warm, rich tones of her brown eyes and complements her olive skin. I have to say it's a little bit of a navy-overload with the matching dress, makeup, AND nails, but what the hey - the eyes are gorgeous.